The Smok NFix Pro is the latest release from the NFix range.
The NFix range include the original NFix Pod Kit and the NFix Mate.
What Can We Expect From The Smok NFix Pro Kit…
Being based on the original NFix this is designed to be a super simple to use pod kit with a few extra features you wouldn’t expect.
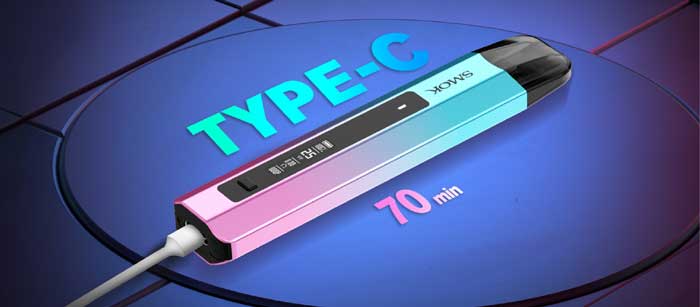
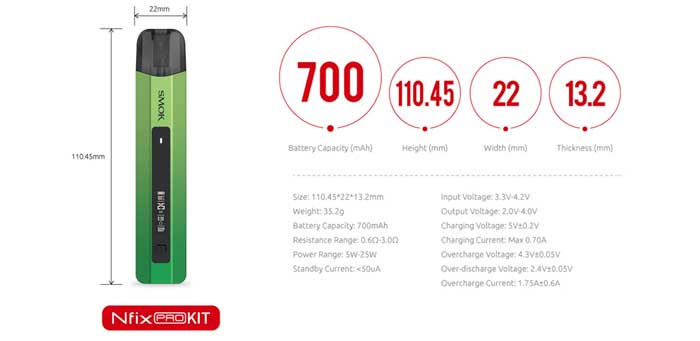
At the basic level this has a 700mAh battery which Smok say takes 70 minutes to charge using the USB Type C port at a 0.7A charge rate.
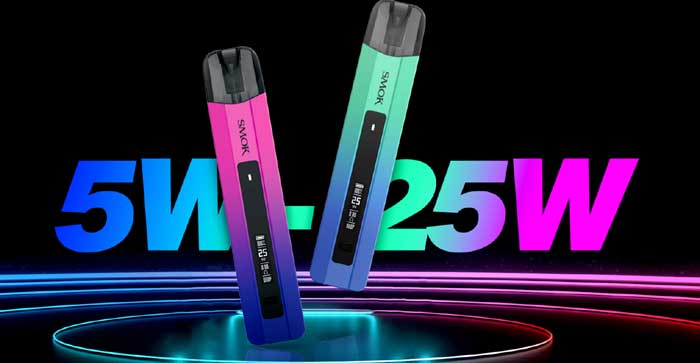
You can adjust the output (Variable Wattage) between 5-25W.
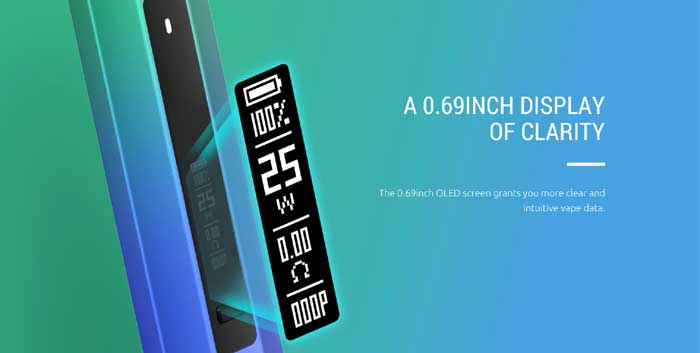
A cute 0.69in OLED screen is provided to keep you up to date with all of your vaping data and device status.
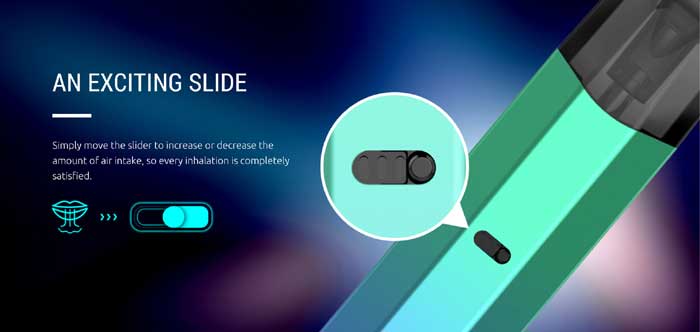
Plus a feature which I always love to see is a slide airflow adjustment.
Looking at the pod this is refillable with up to 2ml of your own e-liquid via the side fill port.
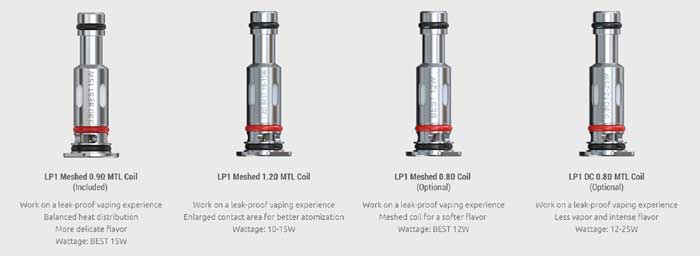
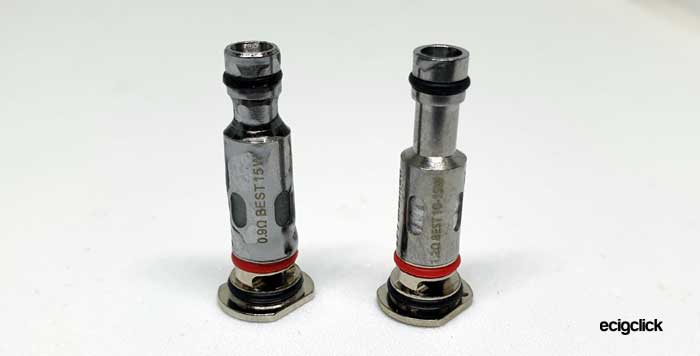
The coils are replaceable and it uses the LP1 range of coils which include the following…
- 0.9ohm Meshed LP1 coil (included in kit)
- 1.2ohm Meshed LP1 coil (included in kit)
- 0.8ohm Meshed LP1 coil (available separately)
- 0.8ohm DC (Dual Wire) LP1 coil (available separately)
These coils are also compatible with the Smok Novo 4 Mini, Pozz Pro and Novo 4 kits.
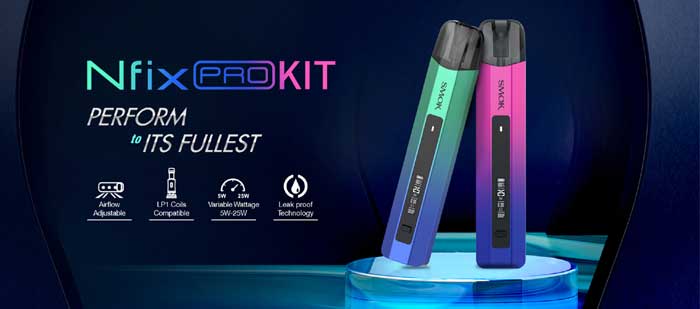
There are 9 colour options to choose from: Black, Grey, Blue Green, Cyan Pink, Blue Gold, Gold Red, Silver Blue, Blue Purple and Green Gold.

Inside the Box
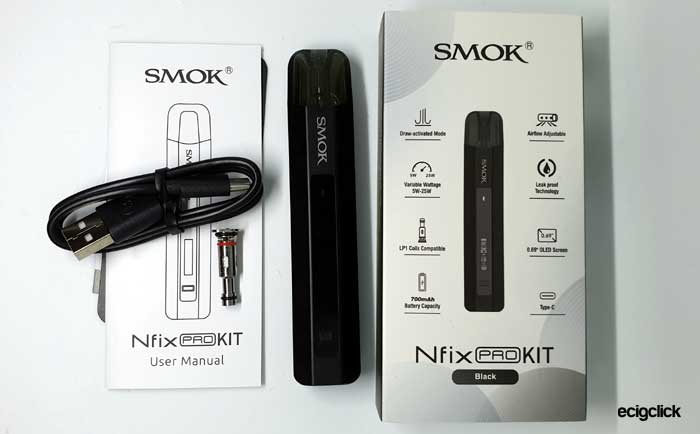
- Smok NFix Pro device
- NFix Pro Pod
- LP1 Meshed 0.9ohm coil (installed)
- LP1 Meshed 1.2ohm coil
- USB Type C cable
- User manual
Smok NFix Pro Kit Specs
- Size: 22×13.2×110.4mm
- Output: 5-25W (2-4V) VW
- Battery: 700mAh (internal)
- Display: 0.69in OLED Screen and LED indicator
- Resistance range: 0.6-3ohm
- E-liquid capacity: 2ml
- USB Type C – 0.7A charge rate – 70 min charge time
- Pods: Refillable replaceable coils
- Pods: LP1 coils – 0.9ohm, 1.2ohm, 0.8ohm, 0.8ohm DC
- Adjustable airflow
- Draw activated
- Side fill port
Smok NFix Pro Kit Design and Build Quality
I received the kit in the Black colour and it arrived in pristine condition with a little isolation sticker for safety on the pod base.
The instruction manual is one of the best I have seen for a pod kit – honestly! 15 pages – all in one language covering everything including several pages of safety information. I have to applaud Smok for this!
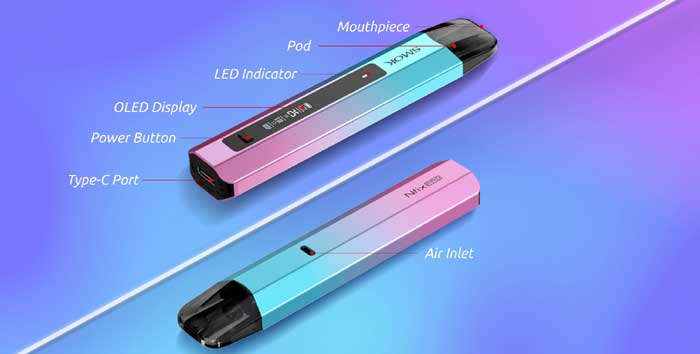
To help you understand what I am referring to as I describe the device – I have included the component diagram below.
Smok NFix Pro Mod
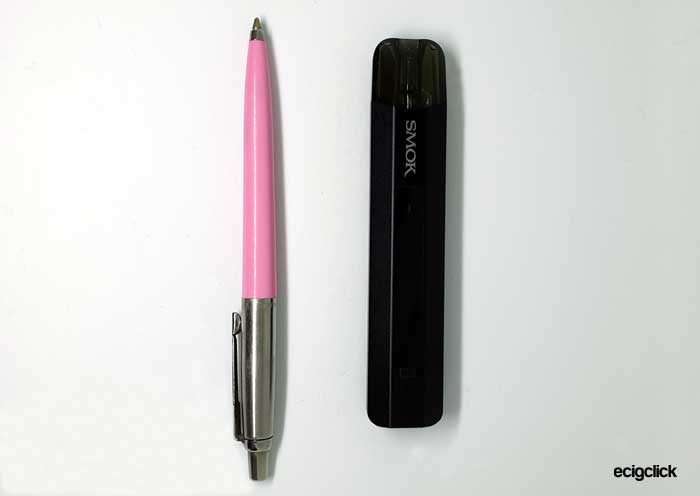
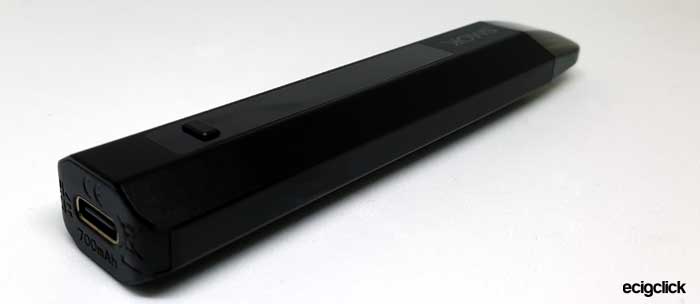
This is really really cute. Very small and compact – it is a similar size to my OXVA Xlim SE.
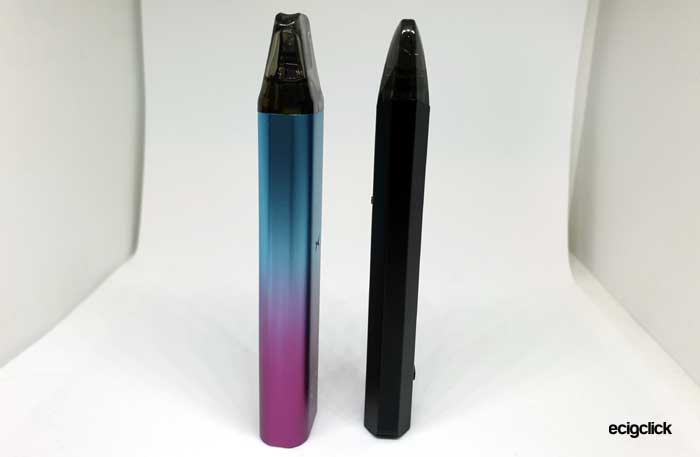
I got the Black version it is very plain. But some touches do make this look more exciting, the elongated Hexagon shape of the device and the long panel where the screen is secretly embedded really do look good.
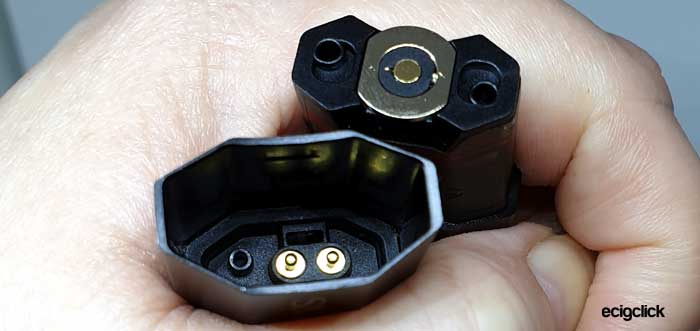
The pod is held in the mod perfectly, not a single wobble. This does not use a magnetic connection, the pod is gripped by latches in the pod bay.
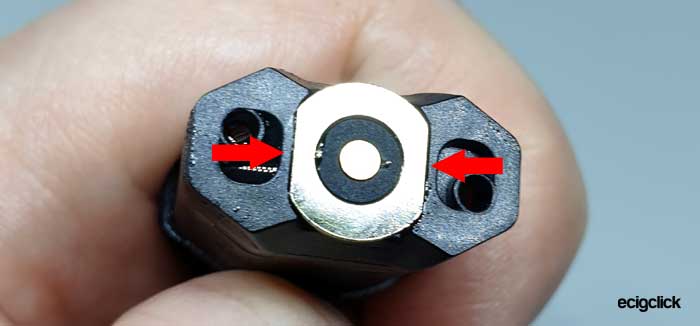
Inside the pod bay are 2 spring loaded contacts and the airflow sensor / airflow channel hole.
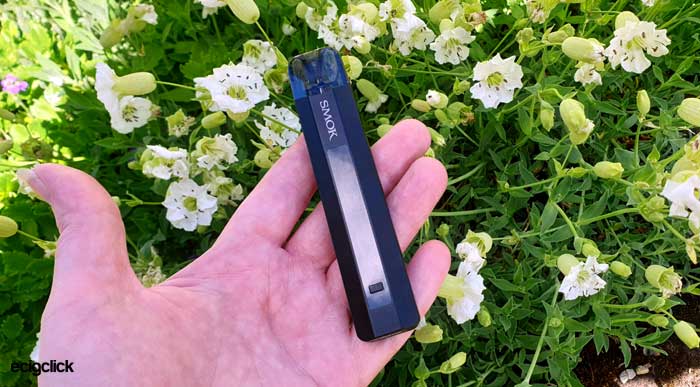
Below the pod on the front of the mod is the “SMOK” text and the gloss black panel continues down the front from there. This is the main difference in appearance to the original NFix device otherwise they are quite similar.
You won’t see the screen unless you vape or press the button and it is around 10cm high. Below the screen is the power and adjustment button. This is tiny and doesn’t protrude much but is really responsive.
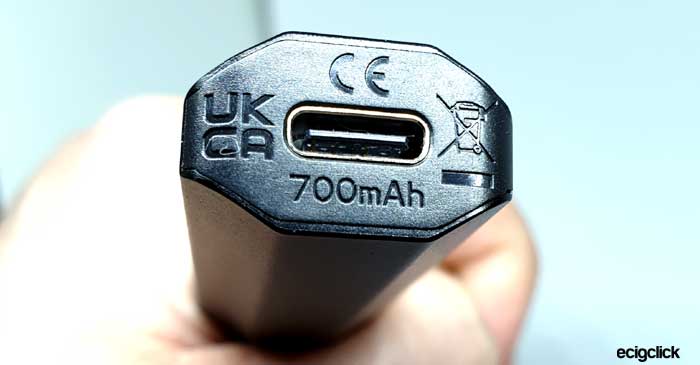
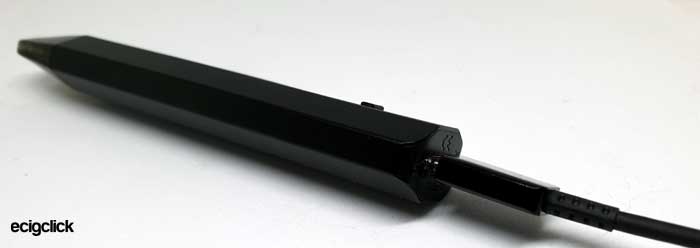
The base of the mod features the USB Type C port, the legal icons and the 700mAh battery capacity stamped in.
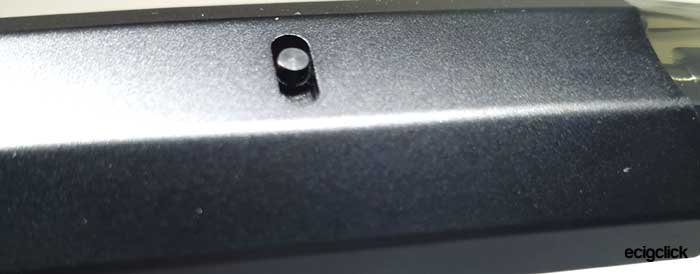
Looking at the rear of the mod there is the tiny airflow adjustment slider. This does have some resistance to moving and hardly protrudes so it is a bit of a job to slide it. But the good news is that this shouldn’t catch on pockets etc and the likelihood of something accidentally knocking the adjuster is slim.
Also I found I did accidentally keep covering this with my hand when vaping which restricts the airflow.
At the base of the rear is the NFix Pro logo. My device also had a QR code sticker on the back which I assume is to verify it.
Smok NFix Pro Pod
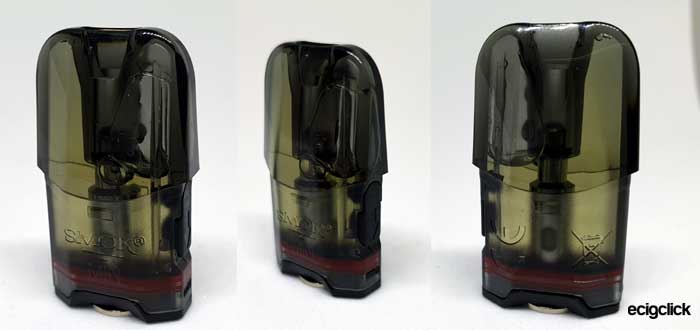
The pod is quite darkly frosted and for some reason seems to be bigger than 2ml? When filling it seemed to take ages as the liquid is even inside the mouthpiece area too.
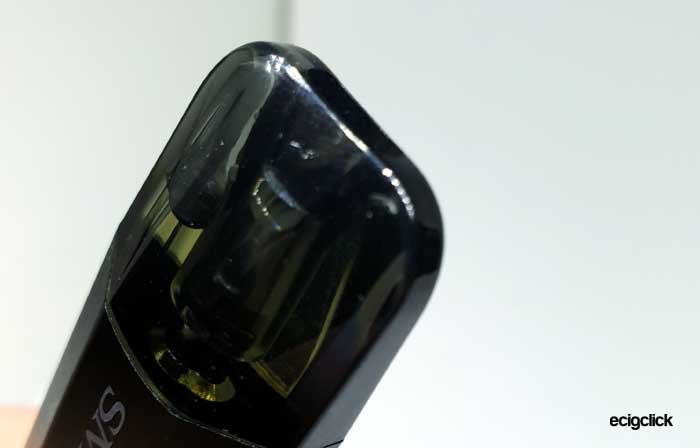
This has a very very smooth Duck-bill style mouthpiece which is nicely rounded.
A minimum liquid level is marked on the pod but this would be obscured when it is installed in the mod.
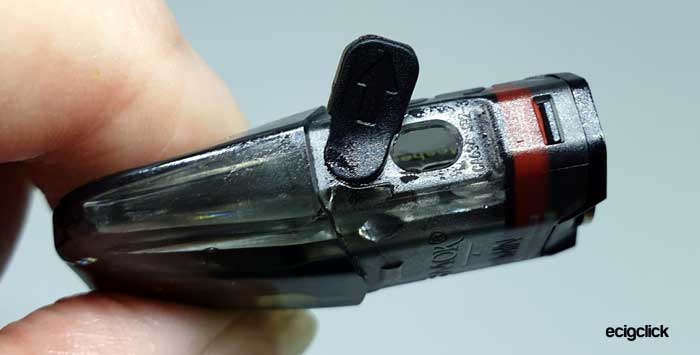
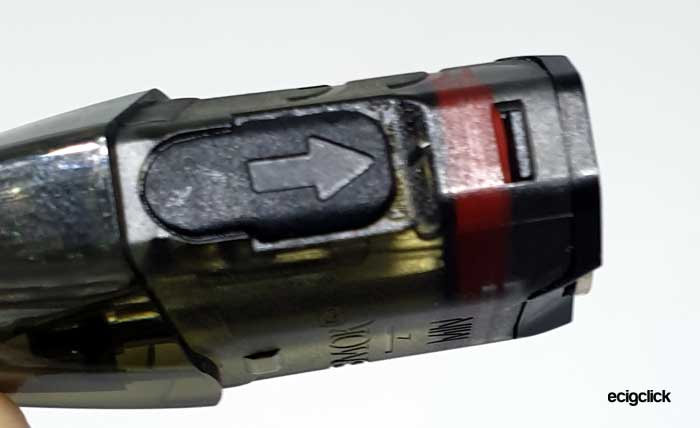
A side fill port is provided with a size of 5 x 4mm. It is an absolute breeze to fill, no spitbacks or issues with the nozzle not fitting.
The port cover is sometimes a bit difficult to remove and replace. But you can swing the cover around for better access to the fill port.
The base of the pod has 2 airflow holes – so you can install it either way around in the mod.
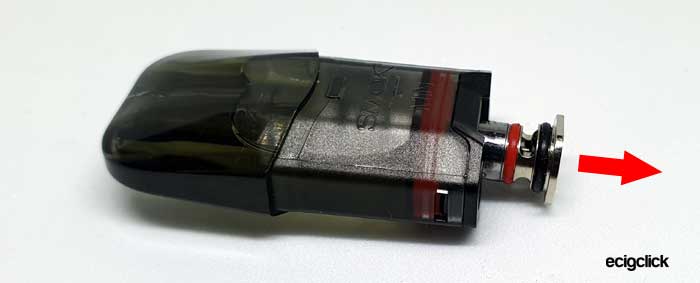
Coil replacement is a simple push in / pull out job and the base of the coil protrudes from the pod where it makes contact with the connectors in the mod.
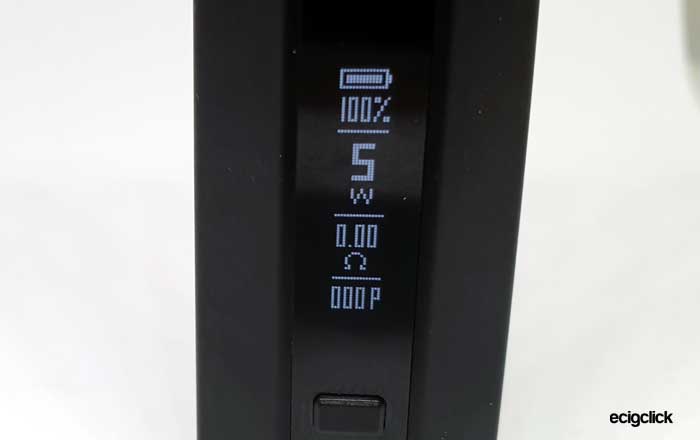
NFix Pro Screen
This is a different layout to the original NFix as this has a portrait screen rather than the landscape one of the original.
It is very clear, single colour – White on Black and pretty well laid out.
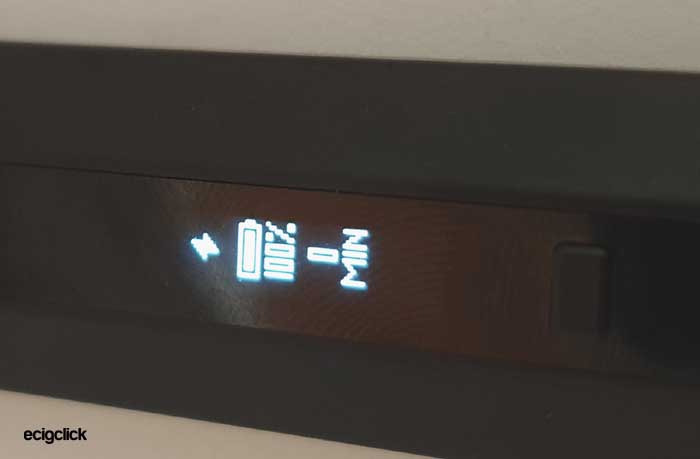
From the top you have the battery icon which shows a diagram of the charge remaining and below that in text is the % of charge.
Then you have the number which represents the output selected in W and a small W appears under that number.
Then the next line is the resistance of the coil and an ohms (Ω) symbol.
Finally at the base is the puff counter.
If you want to see the screen just press the power button once to bring up the display. It will go off on its own to reduce battery drain.
Quick Start Guide
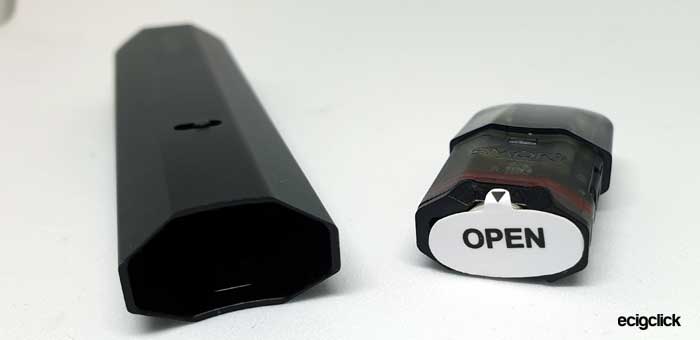
This arrives with the 0.9ohm coil already installed. Thankfully to prevent damaging the coil an isolating sticker is placed on the base of the coil to prevent it making electrical contact with the mod.
So make sure to fill this with e-liquid, double check the coil is pushed into the pod fully and then you can remove the isolating sticker. If you fire the device with an empty pod it will damage the coil and render it bin worthy.
Basic Operation
- Power On/Off = Press the power button 5 times quickly.
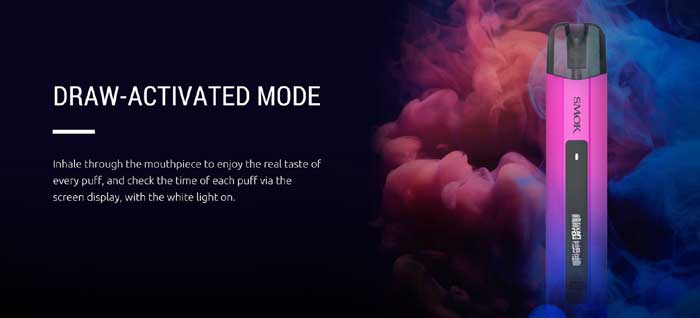
- Vaping = simply inhale on the mouthpiece and the auto draw sensor will activate the fire system. The LED will display white.
- Battery indicator = screen displays battery charge remaining as an icon and %.
- Battery indicator when charging = Screen displays the battery charge and also the remaining charge time.
- Adjust wattage = press the power button 3 times quickly. The wattage level will flash. Each time you press the power button the wattage will increase by 1W. When it gets to 25W the next press will take you back to 5W. When you are displaying the wattage you want simply leave the device and it will go back to standby mode for vaping.
- What wattage should I select? = If you are unsure as to what output to select, a range is printed on the actual coil – start at the minimum suggested and work up until you are happy. It is best to not exceed the maximum limit as it could burn the coil. Also vaping at a lower setting than the minimum could cause spitback.
- Puff counter = the puff counter displays the amount of puffs you take. However if the device is turned off this will reset to zero. Same if the puff count reaches 9999 it will reset to zero.
- Airflow = to adjust the incoming airflow slide the airflow adjustment lever to suit.
Protections
As this has a screen when a protection kicks in the screen will tell you the following:
- Battery Low – time to charge the battery
- Goodbye – the device has switched off as the battery has discharged – charge to operate it again.
- Ohms too low – the installed coil is below 0.6ohm which is the minimum resistance the device is compatible with.
- Ohms too high – the installed coil is above 3ohm which is above the maximum resistance the device is compatible with.
- No atomiser – the coil is not being detected, either no pod or coil installed, connection issue (clean contacts) or faulty coil.
- Atomiser Short – a short circuit has been detected the LED will flash 5 times.
- Time Over – if you vape for longer than 8 seconds the firing system will cut out to prevent overheating or damage. This is very useful if the device fires up accidentally.
How To Charge The Battery
The charging rate is specified as 0.7A.
- Using a USB type C cable connect the small end into the USB port on the mod.
- Connect the large end of the cable into a suitable USB outlet.
- The screen will display the charging progress and also an estimate for how long left until fully charged.
The charging time for me was around 55 minutes to 1 hour.
How To Fill the Pod
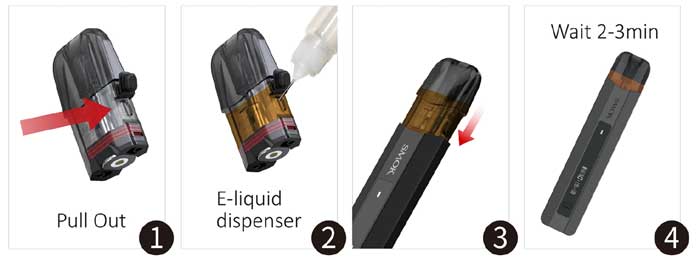
I recommend tipping the pod upside down when filling to make sure all of the inside of the pod is full.
- Remove the pod from the mod.
- Lift up the cover of the fill port and add e-liquid through the port.
- Watch the e-liquid level through the clear side of the pod.
- Replace the fill port cover firmly.
- If this is the first fill allow the pod to stand for 10-15 mins to allow the e-liquid to soak into the coil. This is called Priming and is a very important step. If not fully primed you could burn the coil out and your throat lining in the process!
How To Replace The Coil
I recommend only replacing the coil when the pod is empty as you do get the whole contents empty out. If you can’t avoid changing the coil with a full pod, just make sure to have tissue everywhere!
- Remove the pod from the mod.
- The coil will just pull out from the base of the pod. You can put a fingernail or some kind of levering tool in the ledge on the base of the coil to aid removal.
- Push in a new coil but make sure the straight edges align with the straight edges on the pod.
- Push the coil in fully.
- If this is the first fill allow the pod to stand for 10-15 mins to allow the e-liquid to soak into the coil.
How Does the Smok NFix Pro Kit Perform?
I used my own e-liquid mix which is 50/50 PG/VG made from IVG Bubblegum Concentrate at 20% ratio. This is quite high a flavour ratio as I prefer plenty of flavour, but sadly this means it can be a coil killer sometimes.
I add nic salt to approx 6mg strength.
If any of these terms are over your head – have a read of our handy guides below!
- MTL V DTL – A Guide To Vape Styles
- VG and PG in E-liquid – all you need to know
- Beginners guide to E-liquid
- Nic Salt E-liquid
0.9ohm MTL LP1 Meshed Coil Performance
The power limits for this coil are specified as being best at 15W so I did what I was told and started there!
This is fine – it is OK – decent.
I am not getting the tasty Bubblegum blast I get from my OXVA Xlim 0.8ohm V2 pod sadly, but neither is this flavourless. Saying that the Xlim really does spoil you for flavour.
It is kind of middle of the road. I even tried it at 14 and 16W to see if there was any improvement – but nope 15W is the best really.
This is OK and decent!
So far have filled this 8 times and 383 puffs the flavour is exactly the same.
If I am honest I was expecting a bit more from this coil as it is mesh. But I can’t complain either!
1.2ohm MTL LP1 Meshed Coil Performance
The power limits for this coil are specified as 10-15W.
I started at 10W but moved through the range and found 13W to be my preference.
I am quite shocked how much better this coil is for flavour than the 0.9ohm? It seems back to front to me – the lower resistance coil should be the flavour factory?
Lovely flavour and throat hit come with this coil – but as expected a lot less vapour. That is the rule of MTL – less vapour!
I have filled this 4 times now and had 200 puffs and still loving it!
Airflow
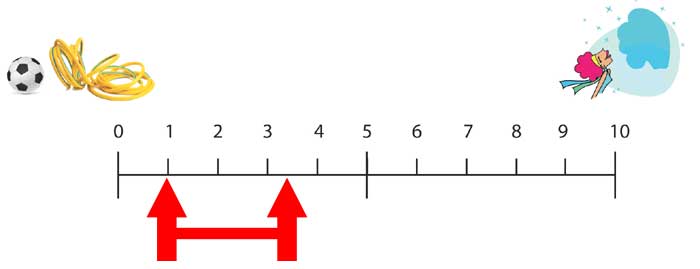
With the adjustment closed this is virtually closed off to incoming air too. But there is still enough to trigger the device to fire which surprised me. This is way too tight to use at this setting for long periods.
Fully open the airflow is still pretty restricted – it is very similar to the OXVA Xlim fully open. So not really in RDL (Restricted Direct Lung) territory – still would be a bit too tight I would imagine.
I mainly used it in the fully open position for a medium tight MTL airflow. Strangely exactly the same as the OXVA!
Mod Performance
There were zero issues at all with the mod, the auto draw firing was super quick and never missed a fire. Also the fire was consistent – not fluttering in and out of firing.
I did find that the “charging time” displayed on the screen was not very accurate – it said once it would take 69 mins to charge but took 55 – not a disaster by any means! Plus this is quicker than the estimate from Smok of 70 minutes!
The output seemed to be exactly the same until the battery reached 2% charge – then it significantly dropped and the “battery low” warning came on. So this is obviously well regulated as I didn’t feel any decrease in output until just before that warning!
Battery Life
This is always just a basic guide as we all have different vaping patterns and we all could change the output too.
With the 0.9ohm coil at 15W I got around 5.5 hours of vaping and averaged 185 puffs per full charge.
With the 1.2ohm coil at 13W I again got around 5.5 hours of vaping and 183 puffs.
Pros
- Very cute
- Amazing instructions!
- Lots of features – variable output and airflow adjustment
- Easy to fill and port cover cap can be swung out of the way for filling.
- Having replaceable coils saves money and waste rather than disposing of a whole pod.
- 1.2ohm coil is a beauty!
- Power output consistent until the battery is down to 2%!
Cons
- One button adjustment of output is a bit clumsy to me – it does the job but I’m not a fan really.
- Puff counter clears when device is turned off.
- Easy to accidentally block the air intake with your hands when in use!
- 0.9ohm coil was a bit dull for flavour.
Smok NFix Pro Final Review Verdict
For the price this is a cracking little pod kit. You get more features than you would in a basic pod kit but this really doesn’t cost that much more.
Smok often surprise me – I am from the era where buying a Smok kit was a bit of a gamble as their quality control was not great. You could buy a Smok Nord for £20 and it works for 3 years, yet a £60 kit would be leaking or faulty after a week. (I have a friend who can even break an Aegis – yet still has his Nord!)
But even this inexpensive little kit is super well built, no leaks, no malfunctions – it’s great!
I love the fact you can change the coils, which is helpful financially and is less waste. Plus it does give you the freedom to try other coil resistances in the LP1 range.
The wattage adjustment is such a great feature but only having one button to operate it might put some people off. It works fine and once you have set the output you can generally leave it. But as I was testing different coils it did get annoying to adjust.
It does seem a shame about the one button adjustment because otherwise this is such a simple device to use. Simple airflow slider, auto draw firing and even filling is easy peasy.
Would I Buy This Kit Myself?
Hmm yes I think I would!
The actual device is 10/10 for me. Plus I love the 1.2ohm coil – so if I couldn’t get my usual kit I would definitely be happy using this.
I would also experiment with some of the other LP1 coils in the range.
If you are new to vaping this is a great little kit. If you are used to great flavour from pod kits you might find the 0.9ohm coil disappointing. But the 1.2ohm coil seems to have a lot more flavour.
This comes close to my favourite OXVA Xlim SE kit – but not close enough to swap them just yet!




Greate Review!
Is it possible to disassemble it (To get the inside out of the case)? I do it regularly with the nfix to clean it.
Have never tried hehe sorry!
But looking at it – the body is one solid piece so I assume you can only pull the guts out from removing the base with USB Port?
Great review – I just bought the Oxva Xlim off your reviews, and brilliant replacement for my Freemax Onnix 2 which sadly died on me. Keep up the brilliant work!
Wow thank you – I hope you are enjoying your Xlim – I am still using mine – struggling to find anything which compares in flavour and coil life!
Thank You 🙂