It is a bit of a change in direction for me with this review – I have the Arizer Air SE Vaporizer in my hand!
I am not the most experienced in using Vaporizers – I prefer my trusty Dynavap devices.
However I have had a play with vaporisers in the past and our lovely late Neil H sent me the DaVinci MIQRO vaporizer to play with. Sadly I only used it a few times and then due to building work at home, I bloody lost it!
So please bear with me – I may not get all the right settings – but this is also an insight into how easy this is to get to grips with. If I can work it out, then most people who can use a vape box mod should be able to.
If you would like to know more about dry herb vaporizers and how they work read our guide.
A little bit now about Arizer.
![]()
Their website does not elaborate on the story of the company but it says…
“At Arizer we focus on making our product better to serve our customers better. We don’t take the title of best dry herb vaporizer lightly, so we keep innovating and improving our products.”
Thank you so much to Joshua Seraj from Tools420 who sent this over to me for review. He was a pleasure to deal with, knowledgeable and very helpful
I will record my findings on the device in my possession. Your experiences may vary!

Time to play!
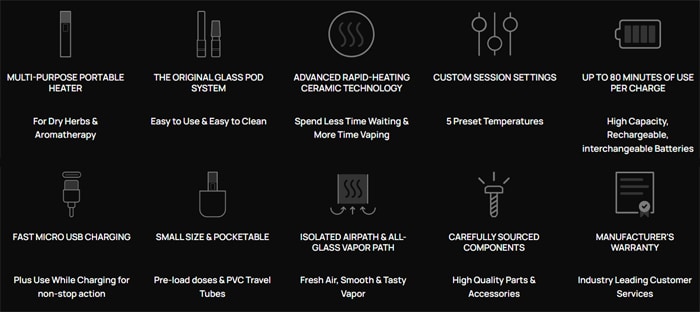
What To Expect From The Arizer Air SE …
This is an update to the previous Arizer Air and Arizer Air 2.

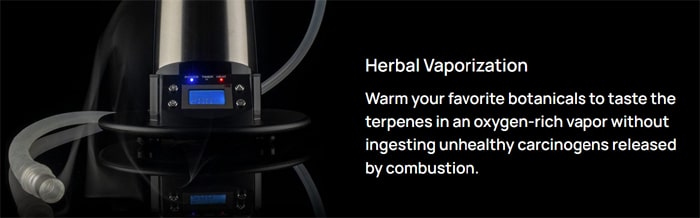
Basically this is a device with a battery which heats up an oven bowl. The heat of the bowl then vaporises the dry herbs for inhalation. Inhaling the vapour is safer than inhaling burnt matter which contains more toxins. Plus it gives a purer flavour.
The main component is the Stainless Steel bowl which has a ceramic heating element beneath. This design has the benefit of not having to buy new coils or chambers. You simply keep the bowl nice and clean.
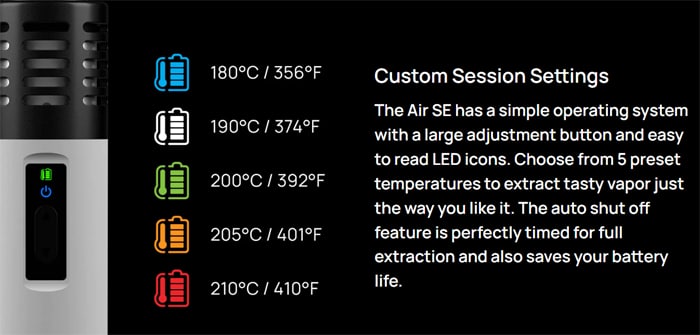
Press a button to start the heating cycle and the power LED will indicate when fully heated to the required temperature.
There are 5 temperature levels to choose from which are displayed using a different coloured LED. Plus there is also a battery charge remaining display too.
Once heated you use the included mouthpiece to inhale the vapour. The oven will stay hot for 10 minutes so you can get multiple inhales from one heating session.
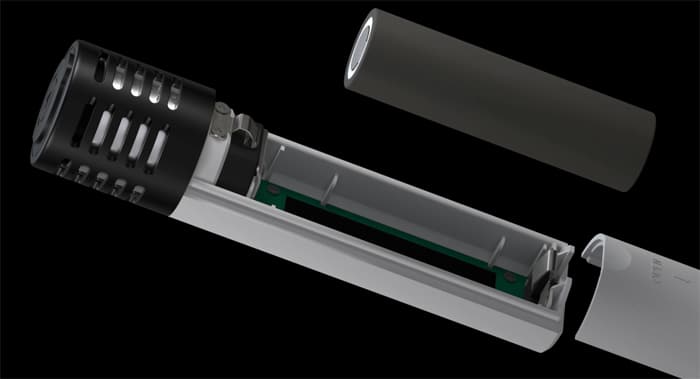
Providing the power is a removable 18650 battery – which is actually included in the kit! There is a Micro USB charging port, but you may prefer to remove the battery and charge it in an external charger.
An audio alert (Beep) will sound when turning the device on and off. You can of course turn this off – thankfully – as the Dog was petrified of it!
This is not suitable for wet products / e-liquids / concentrates / dab etc – it is for dry herb only.
You can purchase many accessories and replacement parts. There are different mouthpieces and bubbler / water / flask adaptor options available too.
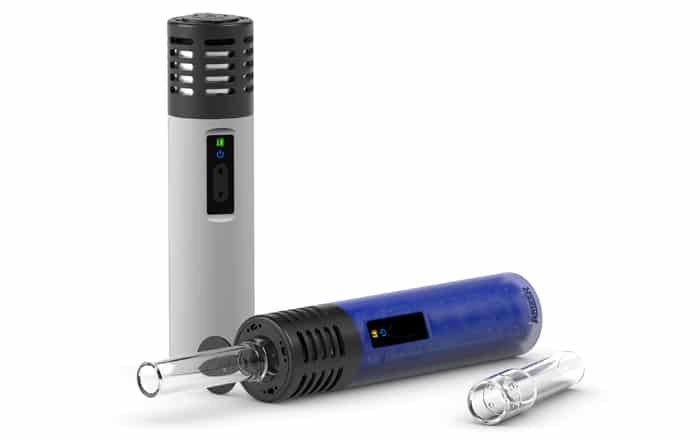
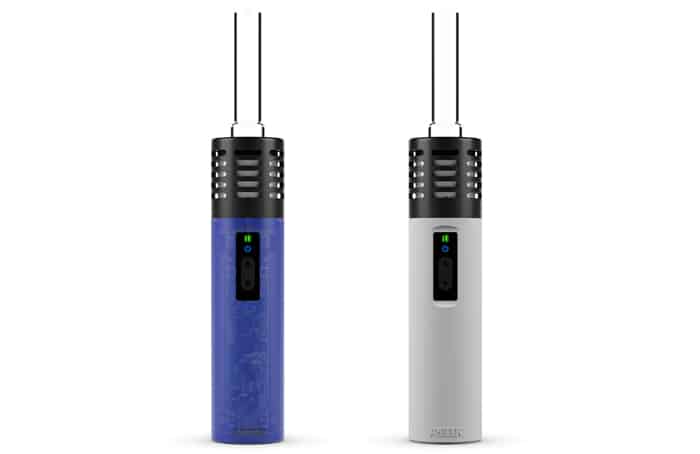
There are 2 colours to choose from: Blue Haze and Reefer White.
This is a dry herb vaporizer for herbs. Many people swear by using ‘legal’ herbs such as Mint – Lavender and even Catnip for aromatherapy purposes. Google is your friend to see what benefits vaping on certain herbs may have 😉
None of us at EcigClick are suggesting you vape on anything that may be illegal in your country…
Let’s see if this device can sit with some of the best vaporizers for dry herb.
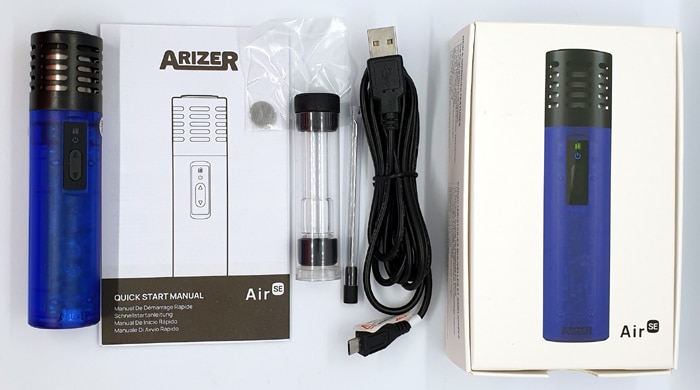
Kit Includes
- Arizer Air SE Portable Micro-Heater device
- Air SE 18650 Battery
- Micro USB Charging cable
- Air SE Glass Aroma Tube (70mm)
- Air SE Stem Cap
- Air SE PVC Travel Carrying Tube & Cap (70mm Size)
- Stainless Steel Stirring Tool
- Air SE Steel Filter Screens
- Air SE Owner’s Manual
Arizer Air SE Specs
- Size: 29x122mm (not including mouthpiece)
- Battery: Removable 18650 (included in kit)
- Display: Battery charge, heat setting and power indicators
- Heating system: Hybrid (convection / conduction)
- Heat up time: Up to 60 seconds
- Bowl size: 0.2g
- Micro USB charging : requires 1.3A charge rate (not suitable for older 0.5A USB ports in devices such as PC’s and Laptops)
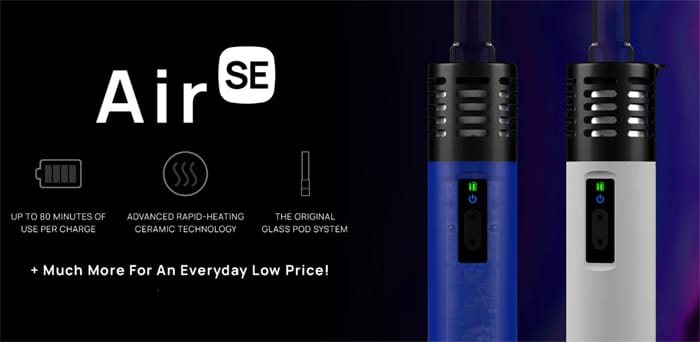
- Up to 80 minutes use per charge / 6 sessions of 10 minutes
- Rapid heating ceramic technology
- 5 temperature settings
- Bowl material: Glass mouthpiece / Stainless Steel oven
- 70mm glass mouthpiece
- Pass through charging (use whilst charging)
- Temperature range: 356-410°F / 180-210°C
- 10 minute session timer – device switches off after this to conserve energy
- Parts compatible with Arizer Air / Solo – Glass Mouthpiece
- 6 foot long USB cable included
- Audio warning when turning on and off (audio alert can be switched off)
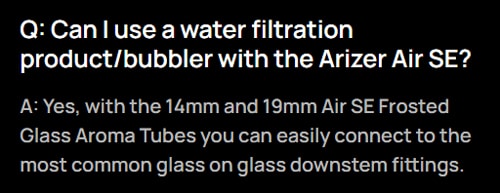
- Use with adaptors (available separately) to connect to water pipes / bubblers
Arizer Air SE Design and Build Quality
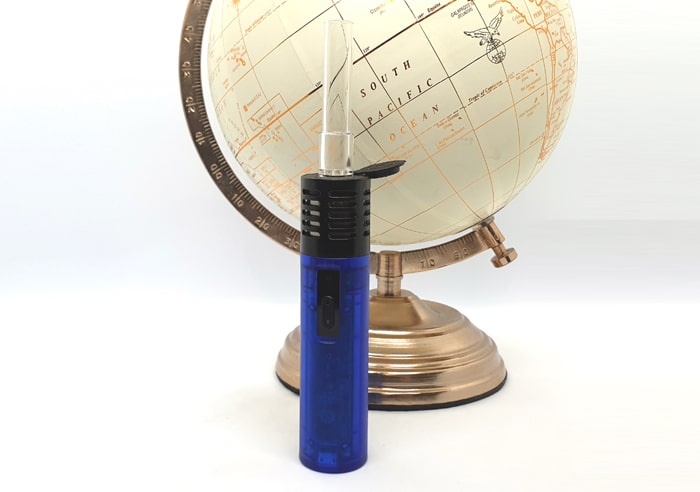
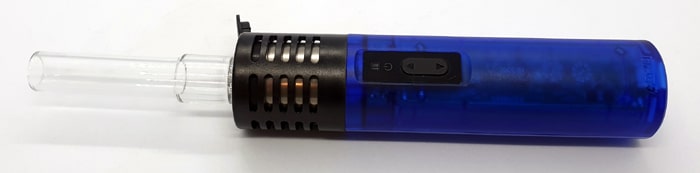
I received the Blue Haze version which is made from mainly slightly transparent plastic.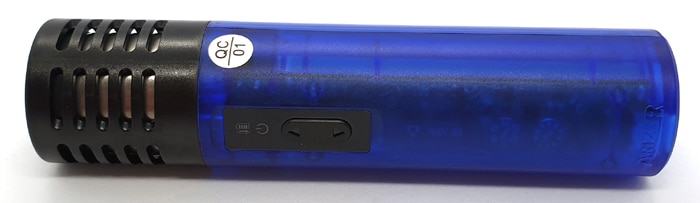
The packaging is great with the main device sat in a foam protective compartment and a box holds all the accessories.
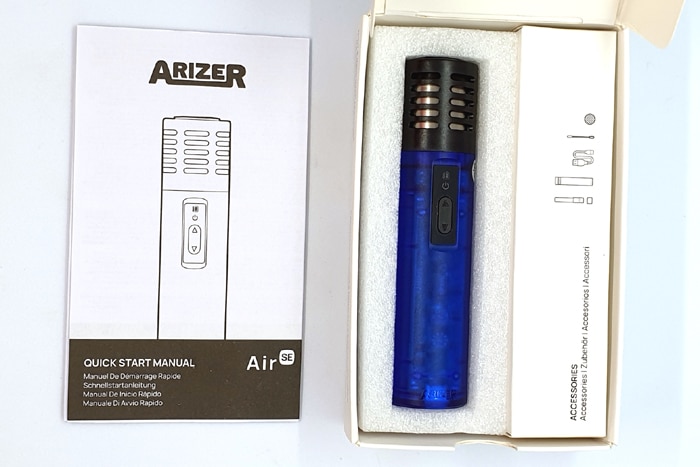
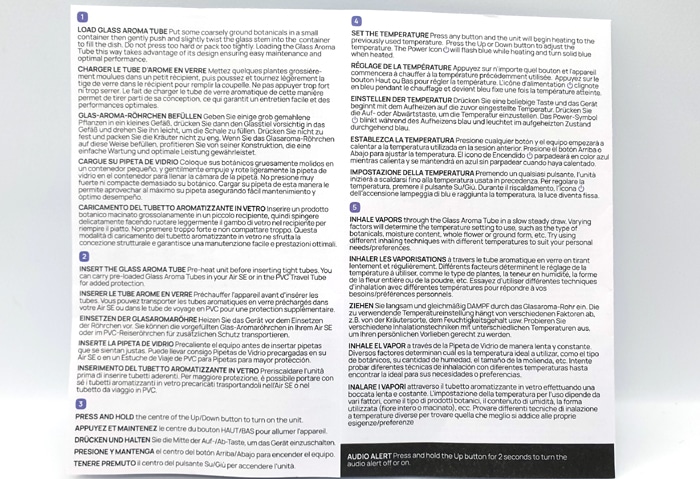
Sadly I feel the instructions are not great. Yes they tell you about most of the device operation, but not simple things like how to add your material etc. Here are a few pages of the instructions as an example – but there are more details on the control panel on other pages.
Main Device
At the top of the device is a metal area which houses the heating chamber. This has a finned design for cooling.
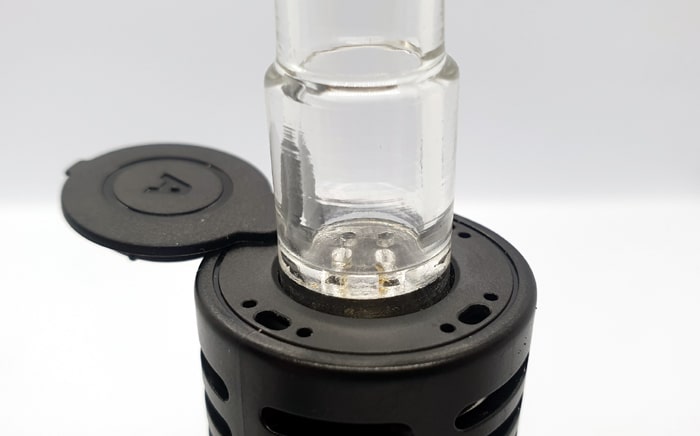
You will see a round cover with the “A” logo, this swings out of the way for installing the aroma tube assembly.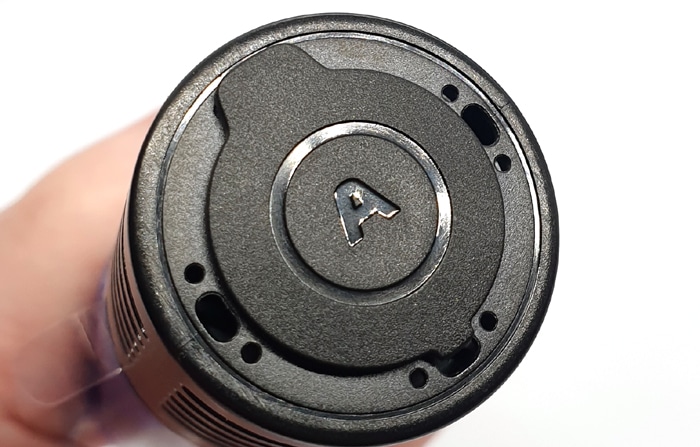
The pivot of this cover is a bit deceptive, the area with the large lip sticking out is the pivot. You would think at first glance this large lip was where you lifted the cover – but it is not! Opposite this is a smaller lip where you can lift the cover slightly to swing it. It closes tightly when not in use.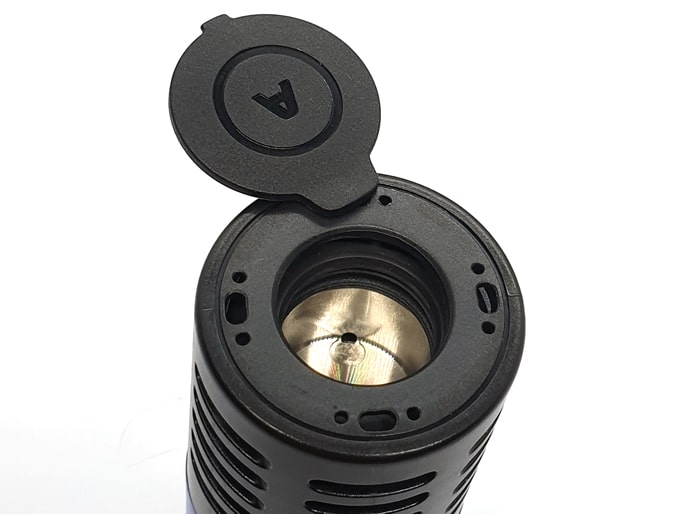
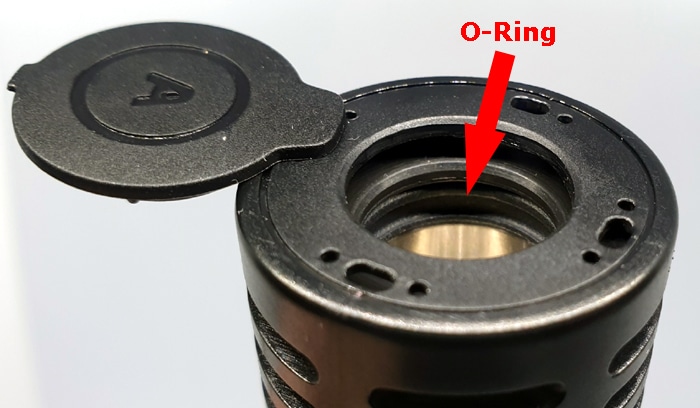
Below the cover is the oven assembly which sits in a chamber. This is quite easy to access for cleaning. Inside the entrance to the chamber is a thick O-ring which seals and secures the glass aroma tube in position.
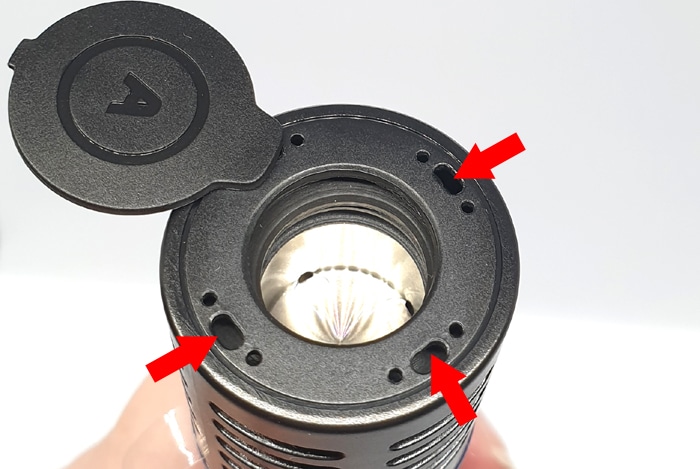
Around the chamber are airflow inlet holes which direct the incoming air through the chamber into the aroma tube. If you want to restrict the airflow you could cover one of these.
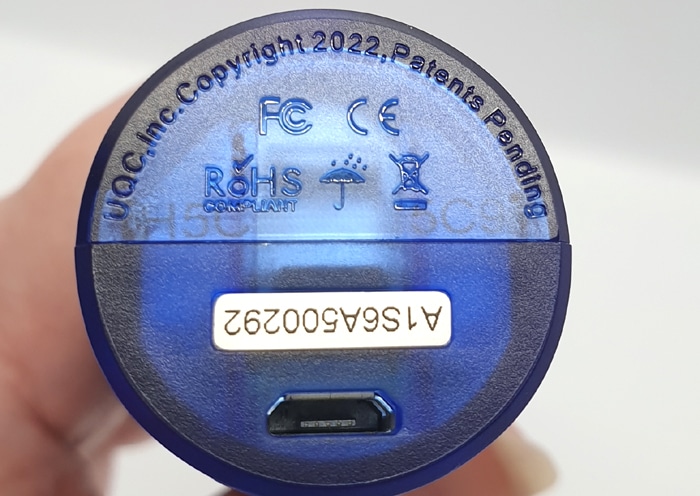
On the base you will find the Micro USB port and the legal logos. There appears to be a serial number too.
Control Panel
On the control panel you have the heating indicator light and the “on” ![]() symbol light. I will describe in the Quick Start Section what the indicators mean.
symbol light. I will describe in the Quick Start Section what the indicators mean.
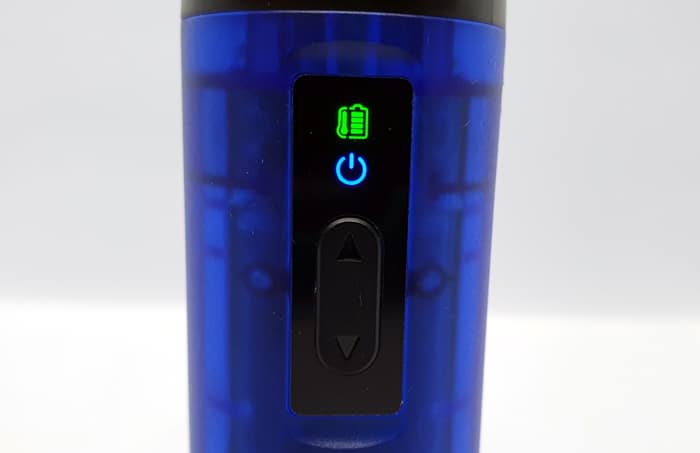
Below this is the rocker switch. This has up and down arrows etched in and the centre part of the switch is for turning on and off.
The switch is responsive and I have had no issues at all.
Battery Compartment
The battery compartment is accessed by sliding the cover off the rear.
An arrow indicates where to push to open and it will slide down the device body. The rails run all the way down to the base of the mod, so when replacing the cover you will need to align it at the bottom of the mod and slide it all the way up.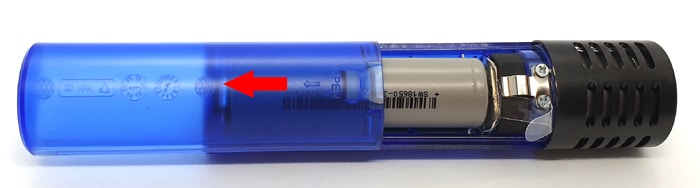
The cover feels sturdy and requires a bit of a press on the arrowed area where the spring catch is for it to move.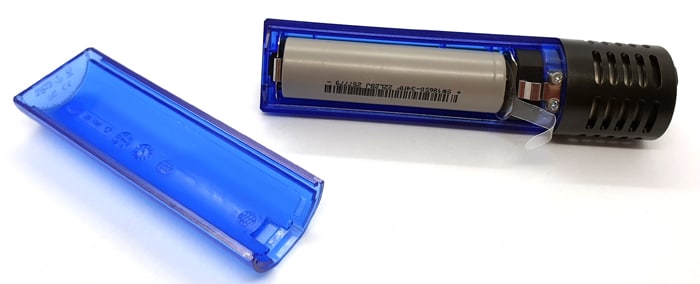
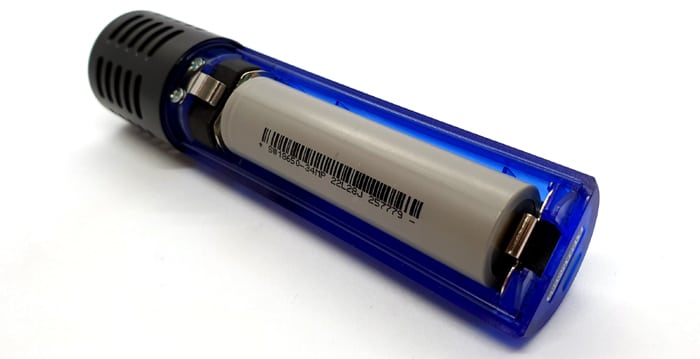
Inside the compartment is the battery sled. 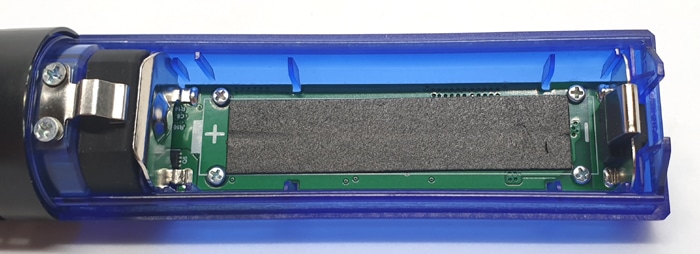
Both terminals are marked on the circuit board behind the compartment and what appears to be an isolating material is applied to the circuit board.
The bottom terminal (negative) is spring loaded so this will help to keep the battery in contact at all times. Plus this ensures the battery is held in securely.
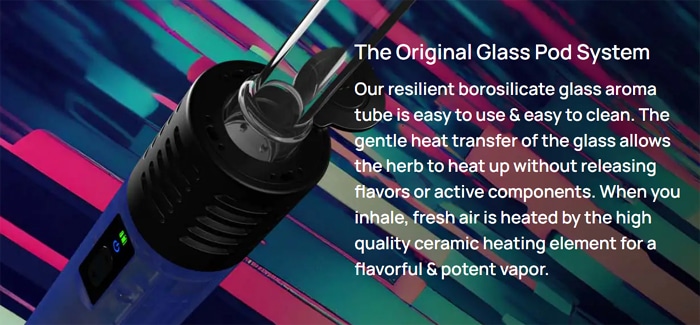
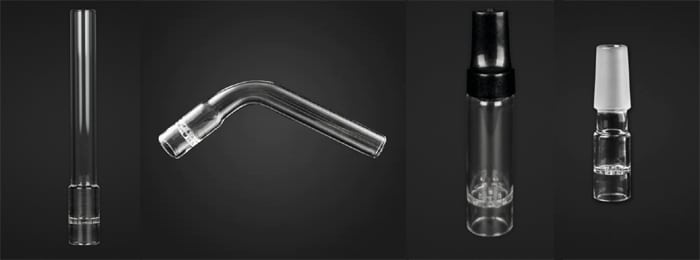
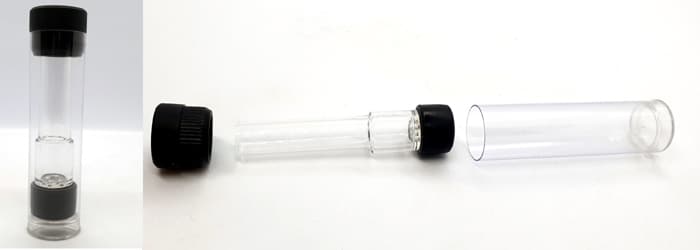
Aroma Tube
The kit includes a 70mm straight glass aroma tube.
This is made of clear glass and also contains the compartment where you add your dry material. You then install the tube into the chamber on the mod.
Sorry if there are some signs of use on my Aroma Tube, I gave it a quick wash – but didn’t spot the remaining bits until photographing & zooming in!
In this compartment the base has small holes for the vapour to travel through without allowing particles of the material to escape.
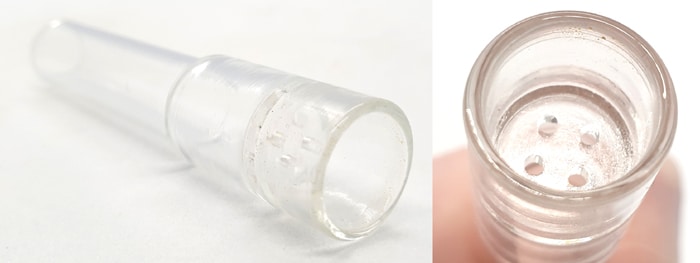
This is a great design as the majority of the material will stay in the glass tube rather than entering the oven section and being harder to clean.
The kit includes some metal screens but the Arizer website says the following on the topic…
“Note: Metal screens are included and available for your convenience but they make vapor harsh and diminish the flavors. The Air SE Glass Aroma Tubes have a built-in screen to keep vapor pure and flavorful so we recommend using whole or coarsely ground botanicals with no metal screen for smooth and Tasty vapor.”
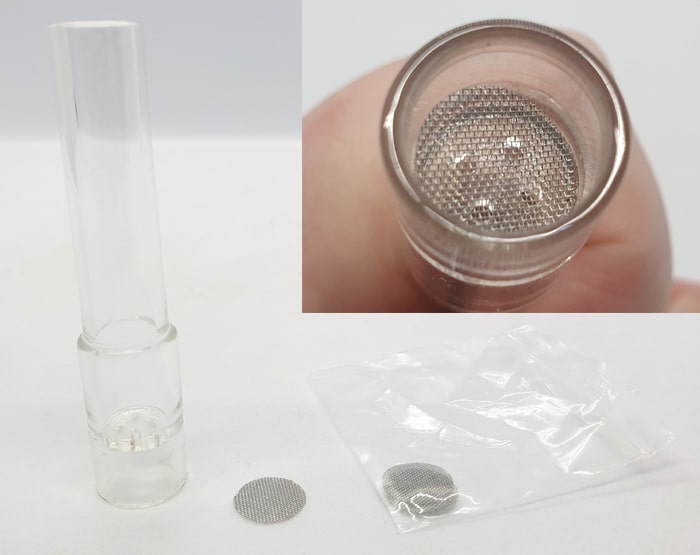
So I basically didn’t use the screens at all.
This feels very delicate and I would be scared of breaking it, but you can buy replacements plus Curved, Tipped and Frosted Glass versions. There are also different lengths of tube available – the longer the tube the cooler the output will be.
Also the kit includes a stopper to keep your material safe in the aroma tube when not in use plus a travel case for carrying the tube.
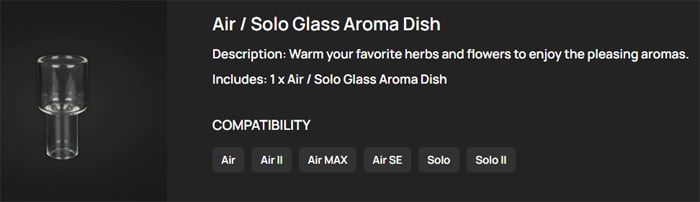
If you want to use this for aromatherapy purposes, you can buy a glass dish adaptor which you add your aromatic herbs to, heat and just let the vapour fill the air!
Quick Start Guide
If you are new to electronic vaporizers this may all seem a bit daunting. Hang in there and I will guide you through getting it up and running.
There is a plastic isolator sticker which must be removed in order to power up the device. See the image below for its location.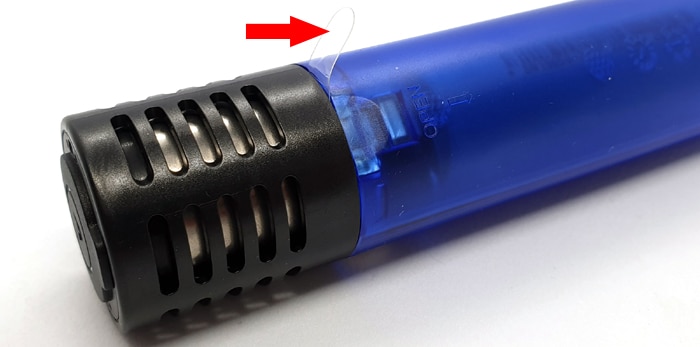
A video from Arizer included below shows how to do this.
Make sure to charge the device first then do a heating cycle to remove any impurities from the bowl section (with bowl empty). Set it to the highest temperature setting.
The device will get hot so make sure to wait until components are cool before filling or performing any maintenance / cleaning.
If you are not sure what temperature setting to use you can either start at the lowest and work your way up or do a search for the herb of your choice and the optimum temperature setting.
Also I have included the “Quick Start Video” from the Arizer website.


