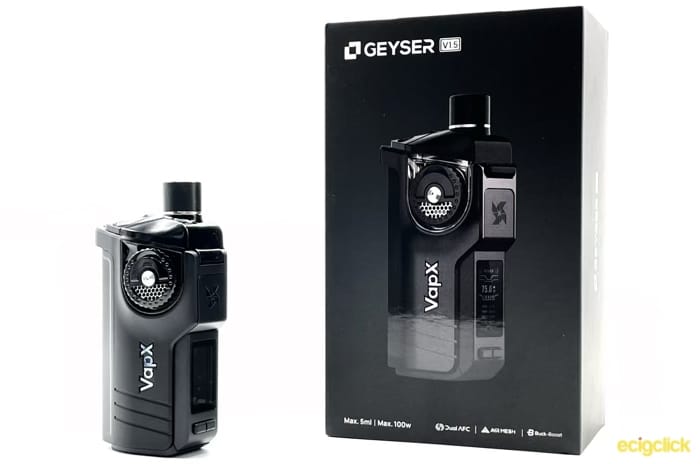
The Vap X Geyser 1.5 review, and this one’s a smallish pod mod that takes a big battery!
21700 batteries were supposed to be the replacement for 18650’s, suddenly we’d have all this extra power and capacity, but sadly they took off fairly slowly.
I guess a lot of vape manufacturers have a “if it ain’t broke, don’t fix it” approach!
One of the last areas where we saw 21700’s appear was in the realm of pod mods.
So I’m excited to be trying a remarkably small pod mod from Vap X called the Geyser 1.5.
What Can We Expect From the Vap X Geyser 1.5?
This is the second Geyser that Vap X has come out with, but it is a minor update to the original, as denoted by the 1.5 name.
Digging around on their Facebook page, it seems like the updates are focused on the pod.
Apparently there were some issues with filling on the first Geyser. It had a top fill system with a silicone membrane that some people reported got a little bit messy.
We never reviewed the original, so it’s straight in to the updated version! It has an innovative airflow and a removable 21700.
The Geyser 1.5 is now their third release, after the original Geyser and the Geyser S that I reviewed here.
This was sent over directly from Vap X for the purpose of review (thank you). As usual, this will not influence my review and I shall report back honestly with what I find!
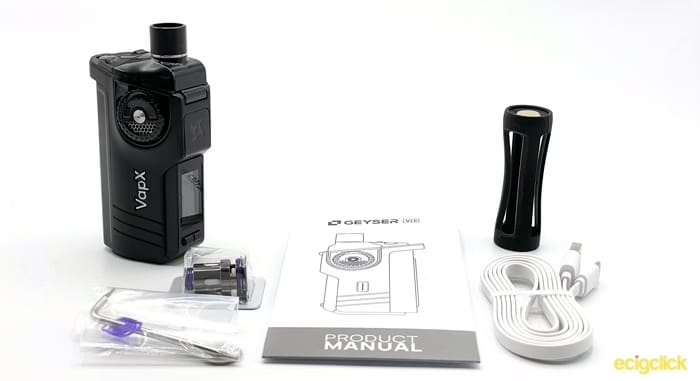
Inside The Box
- Geyser 1.5
- Dual AFC Pod
- 15s Coil
- 15d Coil
- Coil Tool
- 18650 Sleeve
- Spare O-rings and torx key
- Manual and warranty card
Specs
- Dimensions – 87.7×53.5×30.9mm
- Weight – 92g
- Power Output – 5-100W
- Modes – Wattage, Temp (Ni, SS, Ti, TCR), Bypass
- Battery – 21700 (18650 with included adapter)
- Capacity – 5ml (I have not seen a 2ml TPD version)
Design and Build Quality
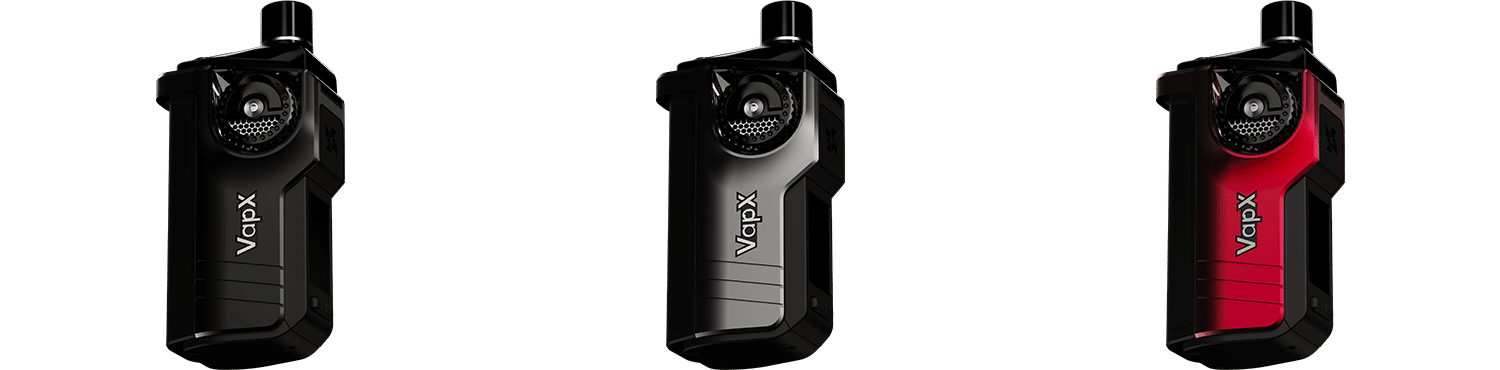
The Vap X Geyser 1.5 comes in three colours, black (that I received), grey, and red.
Vap X Geyser 1.5 Body
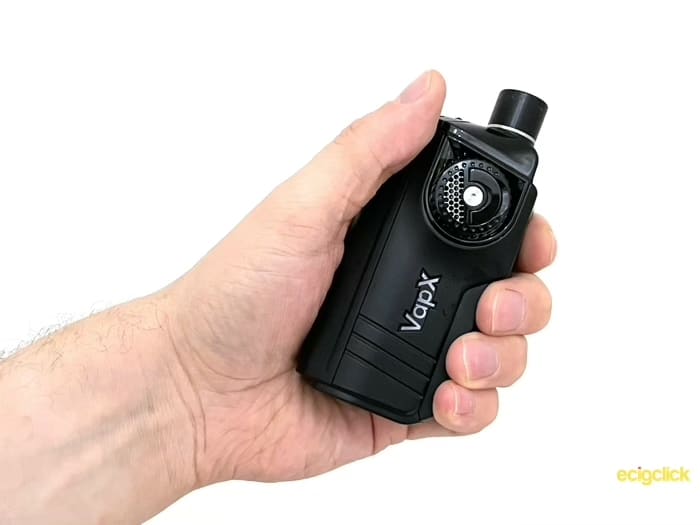
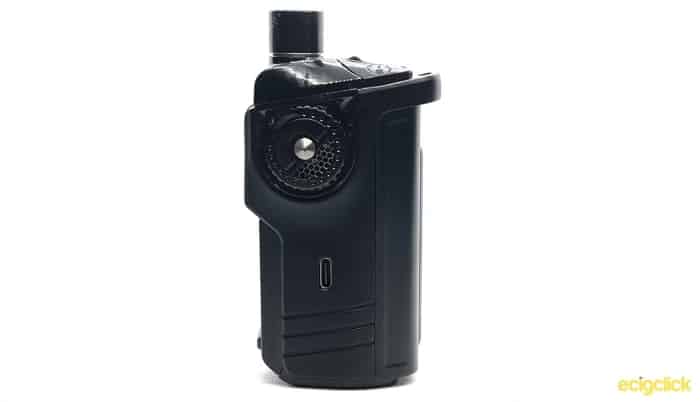
For such a chunky little beast, it’s surprisingly lightweight. Although it might look and feel like plastic, the body is made of magnesium alloy.
It’s pretty comfortable in the hand, and easy for either thumb firing or finger firing.

It has an oversized fire button that sticks out over the screen and controls.

On one side of the device is your USB C charge port, the other side is blank except for the branding Vap X in silver.
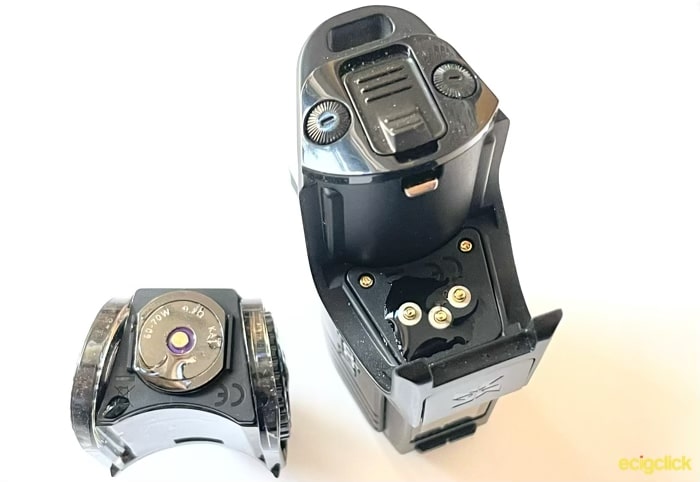
The rear section is plastic and is your battery door. You access the battery by sliding the battery door down so it un-clips.
There’s a ribbon to help you remove your battery, and the positive and negative connections are clearly marked in red and blue.
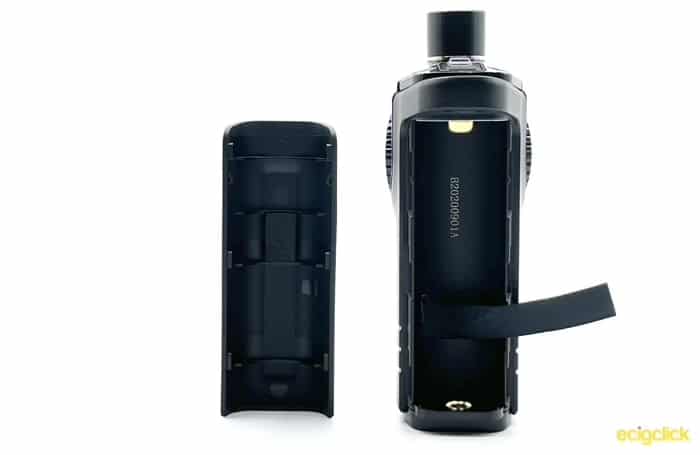
You can either use a 21700, or an 18650 with the included adapter. I found that putting a 21700 in was a little challenging.
With most designs like this you can put one end of the battery in, then with it angled, push down from the other end to pop it into place.
With this device I found I had to line the battery up parallel, and push from the middle so that the +ve and -ve connections were made at the same time. It’s not a major issue, but it’s worth knowing if you have trouble putting in your battery.
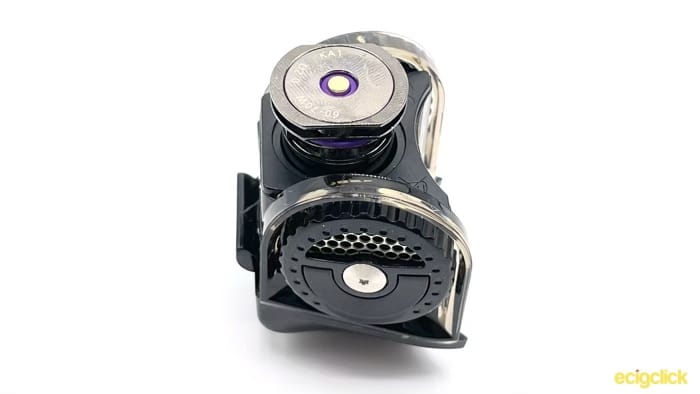
The base is totally clear of marks or branding, just three small torx screws that hold the device together. The regulatory marks actually live underneath the pod itself.
On the top there’s a rather large strap attachment hook that point out over the battery compartment. I’m not sure this is really needed, as it’s a chunky enough device that I don’t see anyone hanging this on a lanyard!

It also makes the top look a bit fussy, as moving inwards, you then have your pod release catch, and two little plastic screw covers.
To release your pod you have to slide the little catch away from the mouthpiece, it then un-clips the pod and allows it to spring up.
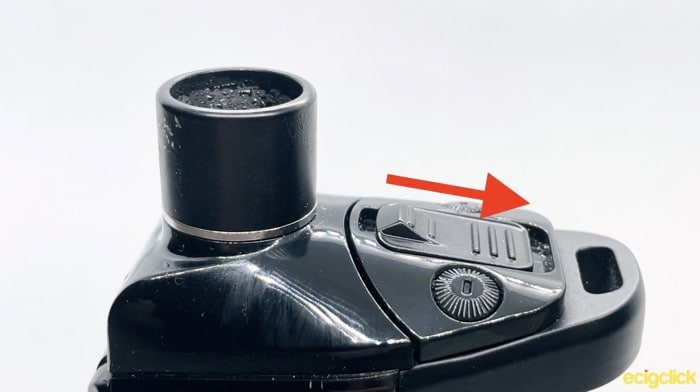
If you look at the catch, it appears like you should also be able to slide this forwards as well as backwards.
This is actually just a leftover design element from the original Geyser, where pushing forward would flip open the top of the pod for filling – on the 1.5 you can’t push it forward.
Vap X Geyser 1.5 Pod
The pod is made of a dark transparent plastic. In non-TPD countries this will hold a generous 5ml of e-liquid.
Although Vap X say that it’s easy to see how much e-liquid you have in it, in use I found it was almost impossible when the pod was inserted.
It is a very dark plastic, and with the drip tip, unusual design, and huge airflow control rings, there’s a lot of other bits to it that make it hard to see through.
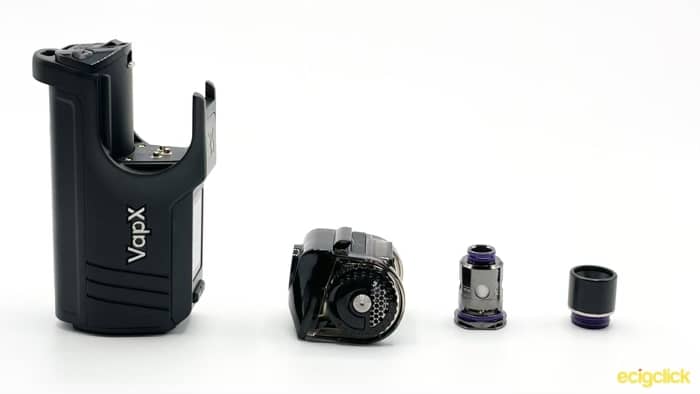
The drip tip looks to be about the size of an 810. However it has it’s o-rings around the base of the tip, not inside, so goon style drip-tips won’t fit.
In fact I don’t have anything in my collection that does, so be aware of this if you like to change tips!
Vap X Geyser 1.5 Airflow Control
Like the Geyser S that I reviewed a while ago, Vap X is using a similar style of disc shaped airflow controllers.
With the Geyser 1.5, you get one on each side of the pod. There is also a little flip out handle that you can use to make it easier to adjust.
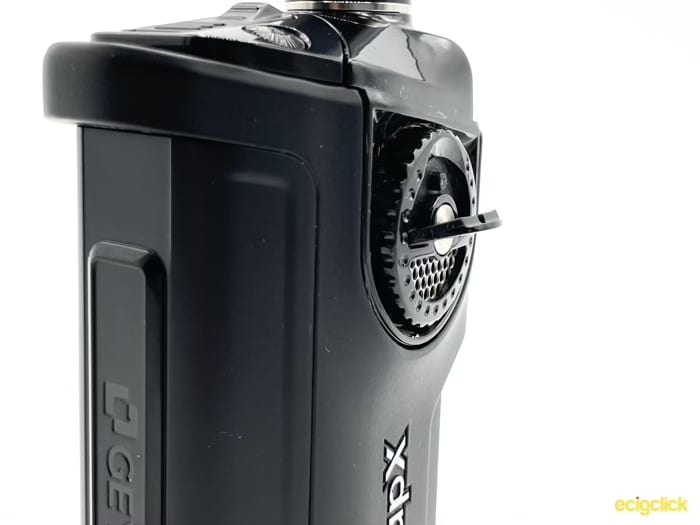
They are definitely one of the most unusual aspects of this pod mod, but they do the job really well. The honeycomb pattern over the air inlets gives a very smooth vape at any airflow setting.
Equally important, if you close them both of totally, you get almost no airflow coming through.
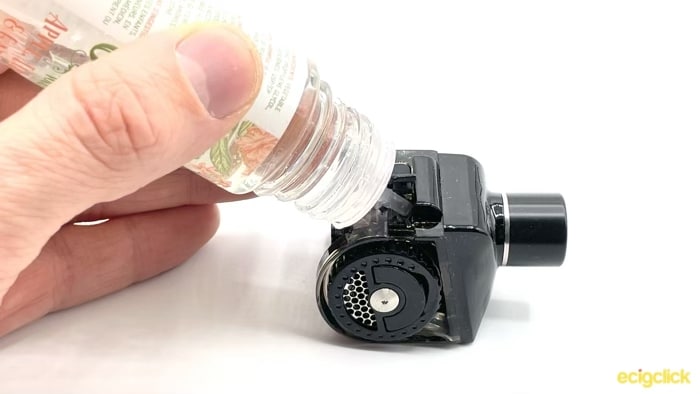
How To Fill The Vap X Geyser 1.5 Tank
Whilst it is possible to fill the pod when it’s still slightly inside the device, you will need to pop it out a bit. So I would say the easiest way is just to totally remove it.
- Push the little release button away from the drip tip to unclip the pod
- Remove your pod from the device and find the fill port at the front
- Unplug the rubber stopper and fill up with your preferred e-liquid
- Replace the rubber stopper, making sure it’s properly pushed in
How To Change The Vap X Geyser 1.5 Coil
This is one of the areas where I have to mark the Geyser down in terms of ease of use.
Although the coils are simple push in coils, it is almost impossible to remove them without using something to lever them out with.
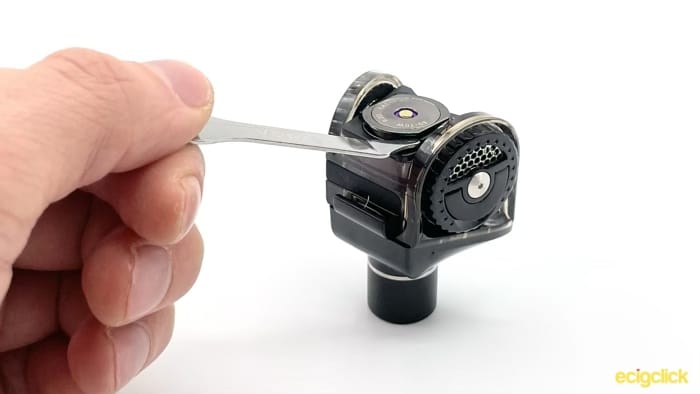
Now Vap X is obviously aware of this, as they include a little flat piece of metal in the packaging for this exact reason.
This is due to the fact that the rather fat bottomed coils sit very flush into the pod, and just have a thin lip of metal to allow removal. Unfortunately you can’t really grip this to pull them out.
- Unclip you pod from the device and turn it upside down
- Place the coil removal tool under the lip of the coil, and lever it against the body of the pod to pull it out a little
- Remove you old coil and place you new one in, making sure to line up the flat sides and push it down firmly
- Fill with your preferred e-liquid and remember to leave it to sit for a few minutes to totally saturate
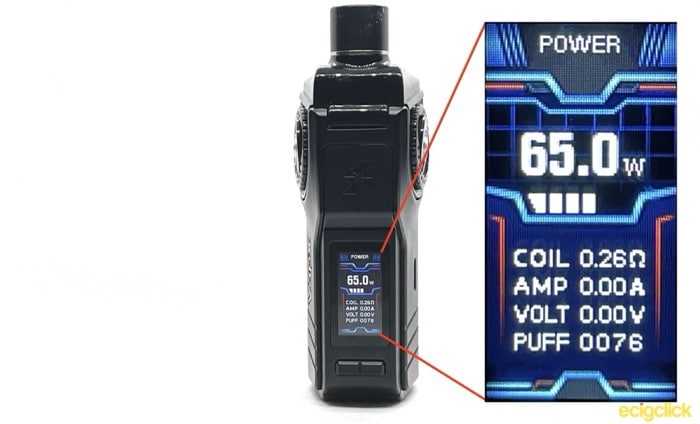
Vap X Geyser 1.5 Screen and Controls
The screen and controls are pretty much identical to what we saw on the Geyser S.
You have your fire button above your screen, and a + and – button below.
However as a more fully feature mod you do have a few more options. Pressing the fire button 3 times allows you to cycle through the different modes
- Wattage
- Temp Ni
- Temp SS
- Temp Ti
- TCR
- Bypass
I can only imagine that this is going to be used in the future for a rebuildable section, as both of the standard coils are Kanthal so don’t work with temp control.
You can also reset the puff counter, and measure/lock the resistance (again, useful for temp control).
Pressing the fire button and the + or – button will allow you to adjust the brightness of the screen.
Vap X Geyser 1.5 Wattage
Wattage is adjusted in 0.1W increments (why?!) when you single press on the adjustment buttons, press and hold and it will scroll in 1W increments very quickly from 5W to 100W.
This set up is quite irritating as when you’re adjusting it you’ll be able to get pretty close by pressing and holding, releasing when you’re near the wattage you’re aiming for.
However you then need to either press the buttons to click it up or down by 0.1W increments, or you press and hold again and *try* to stop it where you want. However it switches to scrolling very quickly, so this is easier said than done.
How Does the Vap X Geyser 1.5 Perform?
I’ve been using this kit for a few weeks now, and I’ve had some good experiences with it, as well as some irritations!
For most of my testing I was using Ohm Brew’s Volume II Apple, Elderflower and Garden Mint at 70VG/30PG.
0.2Ω Single Mesh Coil – Airflow and Cloud Production
Plenty of airflow on this coil, and being able to go up to 70W with it allows it to produce enough vapour to take advantage of that. On a 1 to 10 scale with 1 being really tight and 10 being fully open, this opens up to a 9.
Clouds are nice and thick, with a really smooth airflow due to the mesh air inlets.
It is a little noisy fully open, and I found that shutting down the airflow a little to give it a bit more restriction helped with this.
0.2Ω Single Mesh Coil – Flavour
Flavour is spot on, no real complaints about this at all. It’s got a fairly limited recommended wattage range, from 60-70W.
To be honest, there’s not much different between 60-70W in terms of flavour, but there is a little more cloud production at 70W.
0.23Ω Dual Mesh Coil – Airflow and Cloud Production
This coil is a tiny bit more restrictive due to having a much narrower bore and two mesh coils, rather than one big one. On the 1-10 scale it’s about an 8.
Airflow is similarly smooth, but wide open it’s noticeably quieter than the 0.2Ω.
At 55W it puts out a similar amount of vapour to the 0.2Ω at 70W, the two coils inside are definitely doing a decent bit of work.
You can close down either coil to be restrictive enough for a mouth to lung vape, but neither the coils nor the drip tip are really designed for it.
I’d be interested to see what a slight higher wattage (0.6Ω, say) and a thinner bore drip tip would be capable of.
0.23Ω Dual Mesh Coil – Flavour
Flavour is pretty good, but I actually found it a little bit less impressive than the single mesh. It’s not bad, just not as punchy.
55W is clear but a little muted
65W is probably the sweet spot for this one
75W is a bit too much power for this coil, I felt it was too close to a dry hit, even when not chain vaping!
Vap X Geyser 1.5 Battery
I didn’t do any exhaustive tests on the battery for this kit, a single 21700 tended to get me around 150 puffs at 70W, so it was plenty adequate for a days vaping.
Any other thoughts?
Leaking
Unfortunately leaking was definitely something I experienced with this kit.
Not straight away, but if you left it sitting for a couple of days then I found that quite a lot of liquid would manage to leak out the airflow control.
This would then collect under the base of the pod where the contacts are, not ideal.
Torx Tool
You get one of these in the kit, you can see it in my box contents photo… and I genuinely have no idea why.
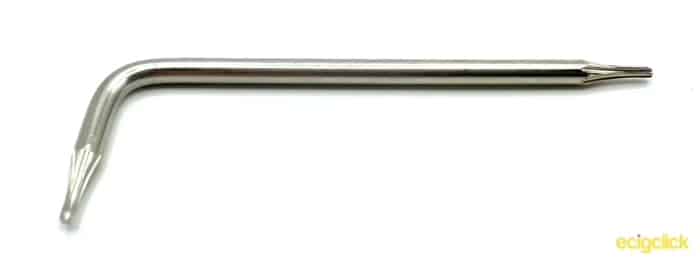
There seems to be nothing on the device that is designed for you to unscrew, and the manual doesn’t shed any light on it either!
On the original Geyser you were able to swap out the airflow controls, so maybe this is a leftover from that?
Pros
- Good flavour
- Innovating and effective AFC
- Lightweight
Cons
- Hard to see e-liquid level
- Leaking out of AFC
- Requiring a mini crowbar to remove coil
Final Review Verdict
It’s a bit of an interesting one, and I think the 1.5 name really does highlight that this was designed to fix some of the perceived problems with the original, rather than doing anything different.
The fact that you can still see how you would have opened the top cap to fill it with the catch on the top, shows how little they changed anything that they didn’t need to. If anything, this makes it feel like a bit of a rushed production.
The airflow is still one of the stand out features of this, and I think Vap X should be applauded for trying something a little different. Aside from the leaking I had from the airflow, it works really well. Very smooth, and very adjustable.
Flavour from the coils is also pretty good, it’s not top tier, but certainly good enough to satisfy most people. Of course the coils have their own irritation when it comes time to change it, by needing to lever them out of pod!
All in all, not a bad device, but there’s a few compromises you should definitely be aware of.
Note: Can’t seem to find it for sale anywhere – will update when I do!


