The new Aspire Mulus RBA review, and it’s taken only a matter of months for it to appear – the device not the review!
There’s been a fair bit of pressure on Aspire to release a rebuildable deck for the Mulus AIO pod system, or it could be down to rival manufacturers doing the same thing – it’s certainly a possibility.
Aspire is no stranger to RBA’s, having created them for other popular devices, with the Triton 2 and the Cleito RBA deck being two such examples.
RBA’s have been around a long time now, with many being notoriously difficult to build on. It was only a matter of time before pod systems joined the party.
As pods grew in size and juice capacity so did the idea for RBA’s as a viable option.
The relatively small build space ensures coil resistance ranges work within sensible parameters.
What Can We Expect From The Aspire Mulus RBA?
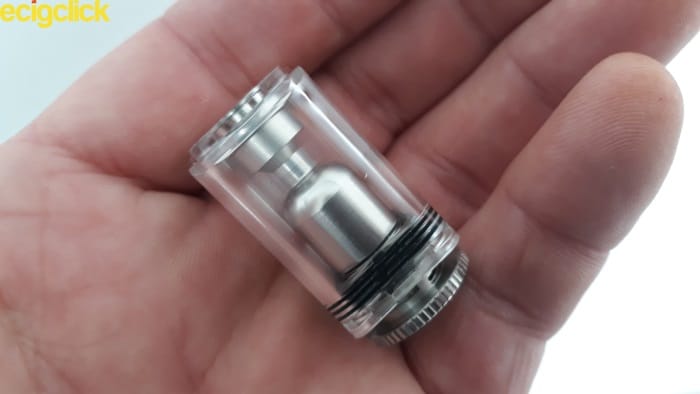
The Aspire Mulus RBA comes with its own built in chimney section. So don’t be expecting to use those pre-built Tigon coils with it, as they’re not compatible.
The adjustable airflow on the bottom of the deck should ensure plenty of vaping options, so we can expect a fully blown direct lung as well as a restrictive mouth to lung hit.
Incidentally – the word Mulus apparently means ‘smooth’ so am I getting a smooth vape?
We shall see…
Inside The Box
The review sample was received in a plastic bag. Expect the final retail version to include all the high level of detail synonymous with Aspire.
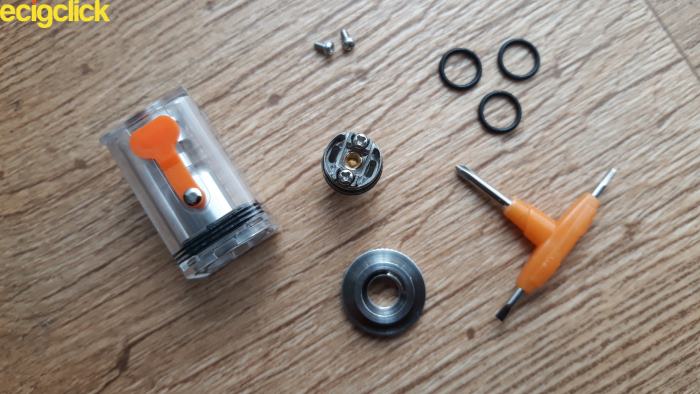
- Mulus RBA Pod (3.8ml capacity)
- Spare grub screws
- Tri Tool
- Set of spare O rings
- User guide card
- Warranty card
Specifications and Features
- Pod capacity 3.8ml
- Diameter 19.5mm (pod) – 16.5mm (adaptor)
- Material PCTG
- Weight 89g
- Rebuildable deck designed for single coil build
- Bottom adjustable airflow
The review model is the non EU version, by the way. It’s not clear at this stage whether there is going to be a TPD compliant release.
I will endeavour to keep you updated.
Design and Build Quality
You’ve got to hand it to Aspire when it comes to design and build quality.
These pods are made to last the distance!
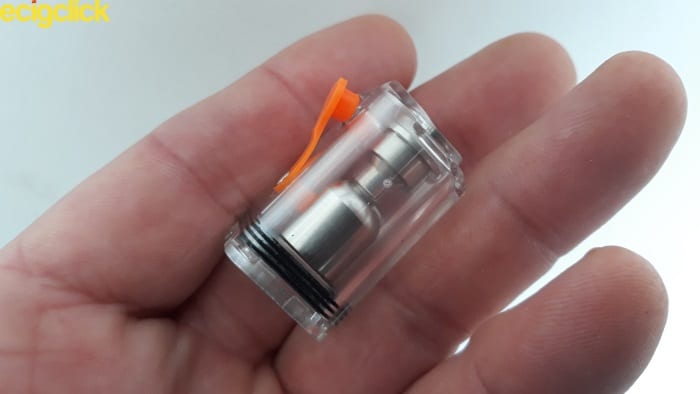
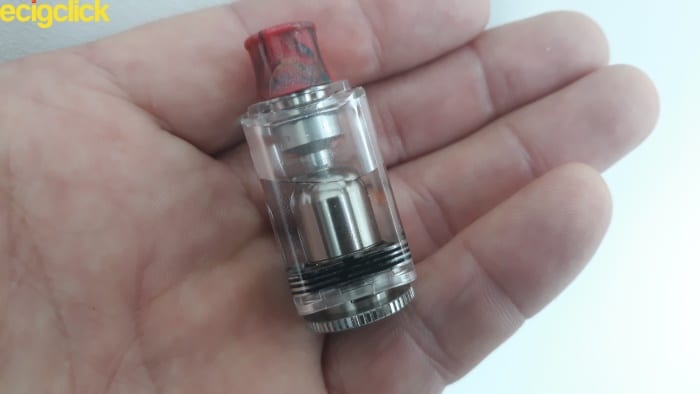
Aspire Mulus RBA – Fill Port and Stopper
Whether it’s down to the numerous strategically placed O rings, toughened PCTG material or the cleverly engineered silicone stopper.
I’m not known for my patience and the stoppers on pods remain one of my biggest headaches, lol, not so with those on the Aspire Mulus RBA.
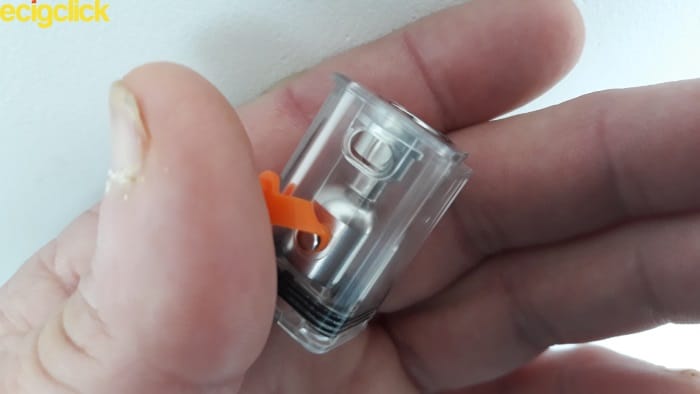
In my opinion they are the best on the market right now.
Featuring a large rubber tab, opening and closing the fill port has never been so easy.
Aspire Mulus RBA – Pod Comparisons
The pod dimensions of the Aspire Mulus RBA are identical to that included in the Aspire Mulus AIO pod kit.
The e liquid capacity is reduced by 0.4ml due to the real estate taken up by the inner chimney.
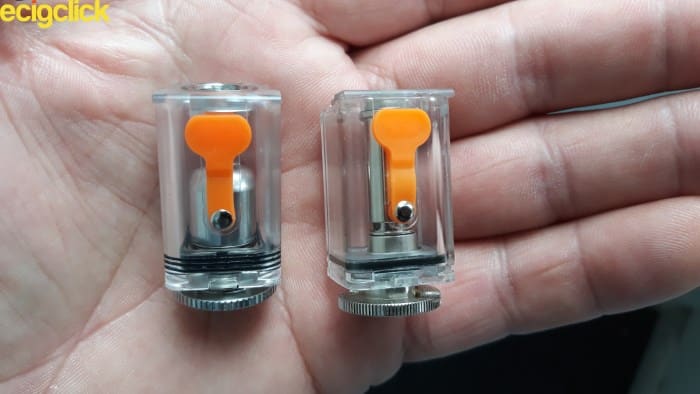
Certainly no biggie and worth it for the flexibility a rebuildable atomizer can provide.
Aspire Mulus RBA – Airflow Structure
The design structure of the bottom airflow has been altered from the original Mulus pod.
We now get a single wider and slimmer port as opposed to the dual found on the OG.
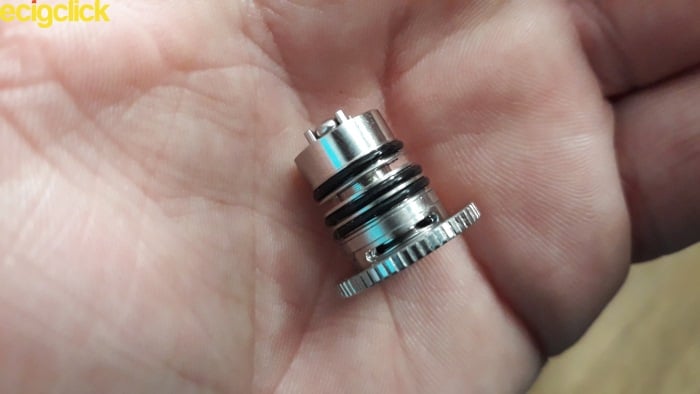
Thanks to the knurling on the base of this adaptor airflow adjustments can be carried out in one silky smooth motion.
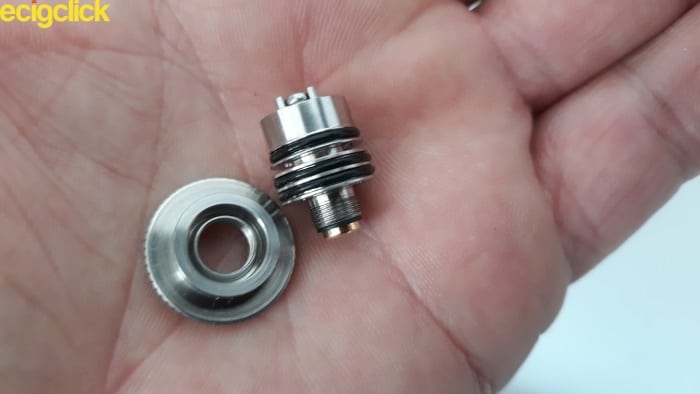
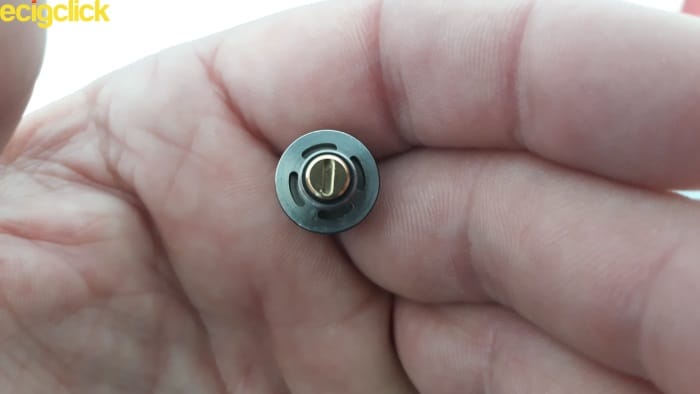
Remove the airflow adaptor clockwise to expose the gold plated 510 pin. This allows the RBA to screw down onto a mod while dry firing the positioned coil.
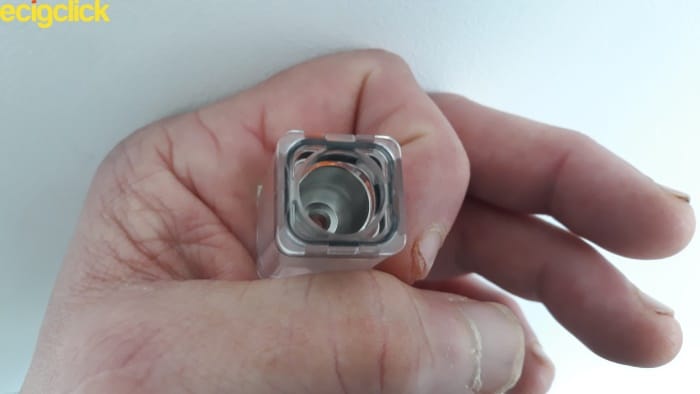
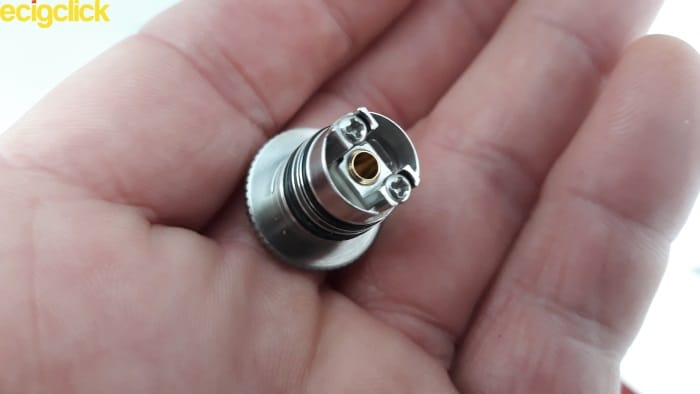
On the underside of the rebuildable deck is a four way air intake port.
Working in unison with the AFC ring, this provides an equal and balanced distribution of airflow up and under the installed coil.
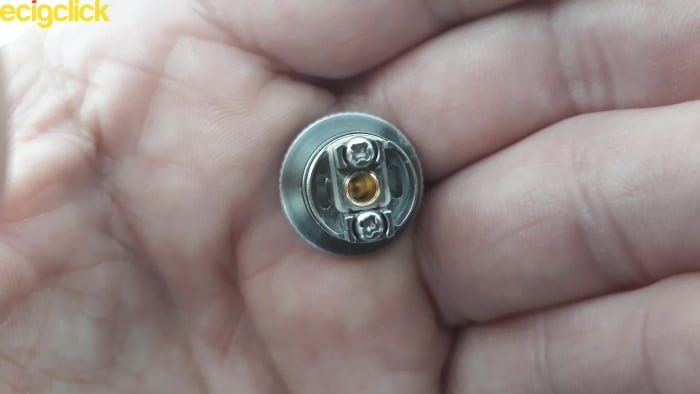
Aspire Mulus RBA – Build Deck
Now for the piece de resistance! (excuse the unintentional pun!)
It’s clear from the get go this is going to be another fun one to build on – lol
The air intake channel on the deck measures 3mm, the cross head screws look soft and easy to strip.
I’m not a fan of tightening screws down on coil legs as it makes an already awkward job that little bit harder.
Well I can’t keep putting it off!
..time to build on this bad boy.
Aspire Mulus RBA – Coiling and Wicking
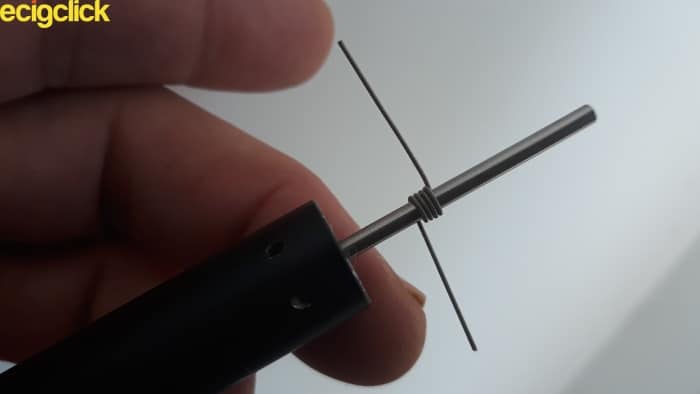
I would suggest that a 2.5mm inner diameter coil is the largest you’re going to be able to use with the Aspire Mulus RBA.
I used a Wotofo Ni80 fused Clapton at 2.5mm inner diameter with a resistance value of 0.5ohm.
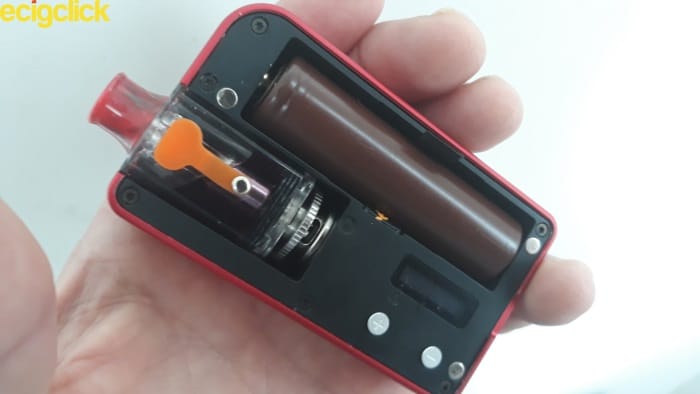
- Pull the RBA section out of the pod
- Remove the AFC/adaptor by unscrewing clockwise
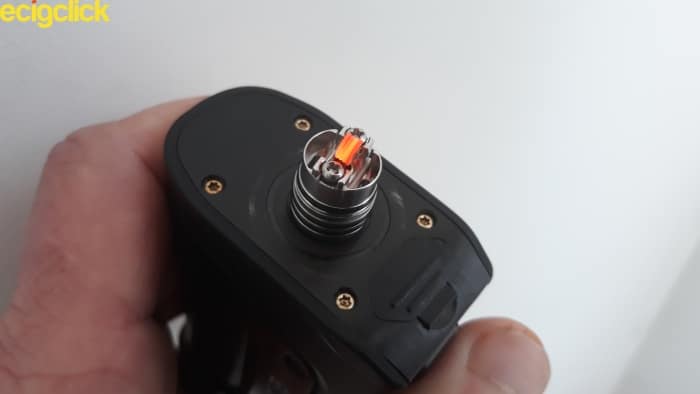
- Screw the RBA section down onto a mod
NB: Now would be a good time to reduce the power on the mod down to around 10W.
- Loosen the post screw on the deck allowing adequate space for coil legs to thread through
- Position coil legs under both screw heads and tighten down
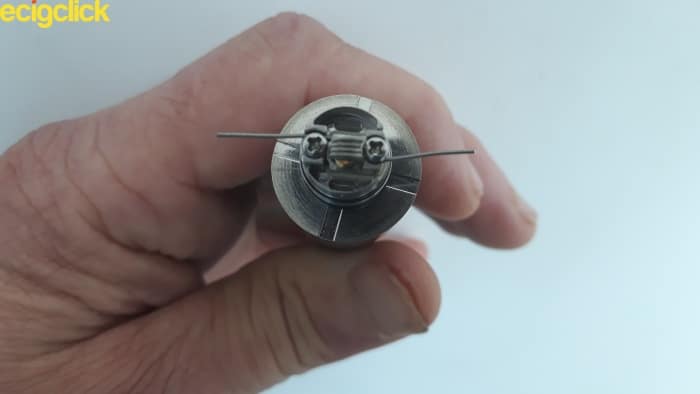
- Snip coil leg excess as far back to the side of the deck as possible

- With the mod at a reduced power output gently dry pulse the coil ensuring an even glow from the inside to out
- Feed cotton through the installed coil and trim to size. Rake out any thickness to the cotton
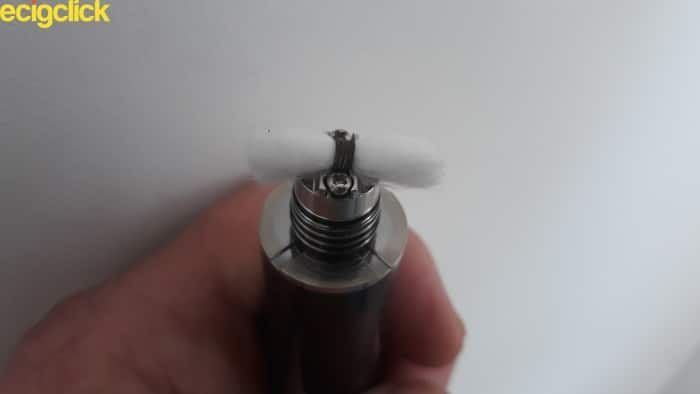
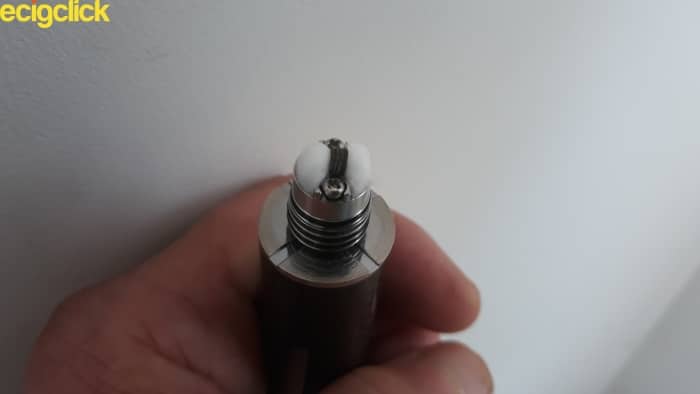
- Gently feed the ends of the cotton down into the wicking ports.
- Saturate both coil and cotton with e liquid. Test fire and repeat the process once more
- Remove the RBA from the mod and screw the AFC/adaptor to its base
- Push the deck back up inside the chimney of the pod
- Fill pod with e liquid and leave for five minutes prior to vaping
When building on any RBA pay particular attention to the positioning of the coil while installing.
Make sure to avoid any direct contact with other part of the deck. Ensure the coil is freely suspended directly above the airflow intake port.
Remember to cut the coil leg excess back to the very edges of the build deck to avoid contact with the inner chimney.
Avoid cramming the cotton into the wicking ports and try to gauge the thickness needed too.
..Just little tips I always fall foul of lol!
How Does The Aspire Mulus RBA Perform?
These are my experiences using a 2.5mm inner diameter Wotofo Ni80 Fused Clapton coil. With a resistance rating of 0.5ohm. I’ve found them to produce very good flavour in both RDA and RTA devices.
The wicking material used was Cotton Bacon V2 which also provides a clean taste.
I began the test with a coil resistance reading of 0.45ohm which was near as damn it. I used NVEE Strawberry, a 50VG/50PG nicotine salt e liquid.
Aspire Mulus RBA and Thinner E-liquid
I vaped initially on 16W and received some good vapour production, and with the airflow wide open there’s a slight restriction on the direct lung hit.
Closing the airflow control down it’s possible to get a very satisfying mouth to lung vape.
The RBA was producing more of the sweetness of the fruit than the flavour. Although I knew this was strawberry it was still lacking in clarity, bounce and sparkle.
None of the associated milky, dairy sub notes were present.
The RBA was also producing a lot of snap, crackle and pop but no spit back. A common issue where coils fail to provide enough heat to the e liquid.
Yet it made no difference ramping up the wattage. It persisted along with occasional fluctuations in voltage and resistance.
Aspire Mulus RBA – Thicker E-liquid
I refilled with Zeus Juice The Black, a 70VG/30PG freebase nicotine e liquid.
Again I was left with only the bitter sweetness of the juice profile. The blackcurrant was sorely distant offering up a few dull glimpses during exhale.
While the included menthol usually acts as a livener, here it lacked any punch.
As expected from the increased VG, vapour production was significantly improved – both billowy and dense. An otherwise smooth vape only ruined by the incessant crackling!
Other Wicking Material – High VG
I changed the wicking medium for the final test. This time I used Muji cotton alongside a high VG DIY e liquid. The flavour used was One Hit Wonder Muffin Man.
This thicker juice was left to soak into the cotton for an extended period.
Crackling was still evident but not as pronounced and cloud production was superb. As with the previous tests I was left with more of an aftertaste of any flavour.
The fruit content was muted and the cinnamon was non existent.
Clearly the RBA is capable of handling thicker liquid ratios. Unfortunately, flavour replication is quite poor.
Pros
- No leaking
- Works effectively as a restrictive lung/mouth to lung RBA
- Some impressive cloud production
- Forgiving build deck
Cons
- Annoying snap, crackle and pop
- Average flavour production at best
- Erratic resistance/voltage readings
Final Review Verdict
The Aspire Mulus RBA offers a lot of versatility.
With airflow wide open there’s the slightest of restriction, that may be a con for some – it works for me!
With increased power a nice warm vape is attainable and cloud production is also good.
When using MTL the Aspire Mulus RBA performed better at lower wattage. Open the AFC just the tiniest amount and hey presto!
I did find the flavour quality to be average at best. The RBA produced only flat, mediocre reproductions of profiles that are usually bright and boisterous.
I recommend using coils diameters of between 1.5mm – 2.5mm due to the space restrictions on the deck.
As for liquid ratios?
Looks like you can fill your boots with the Aspire Mulus RBA.
Are you likely to be adding this to your vaping collection?
If you own it how have you found wicking and coiling it?
How was the flavour?
Let me know in the comments below!


