The OXVA Xlim SQ Pod Kit is the update to the Xlim V1/V2 and Xlim SE which I reviewed previously.
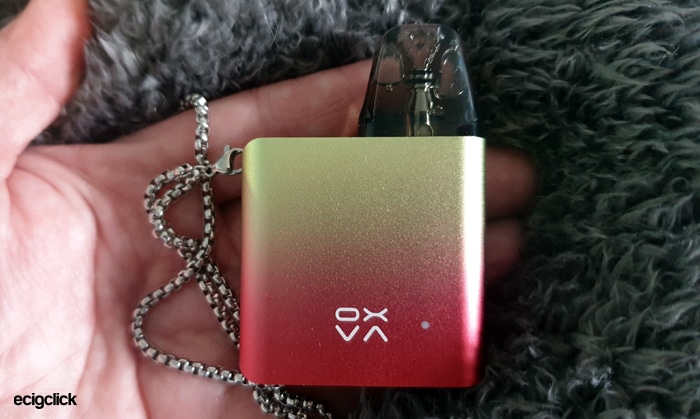
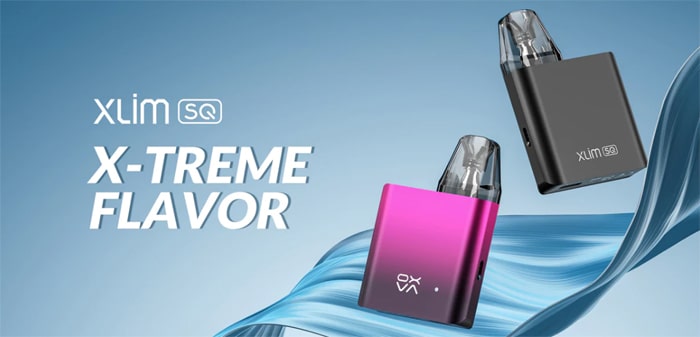
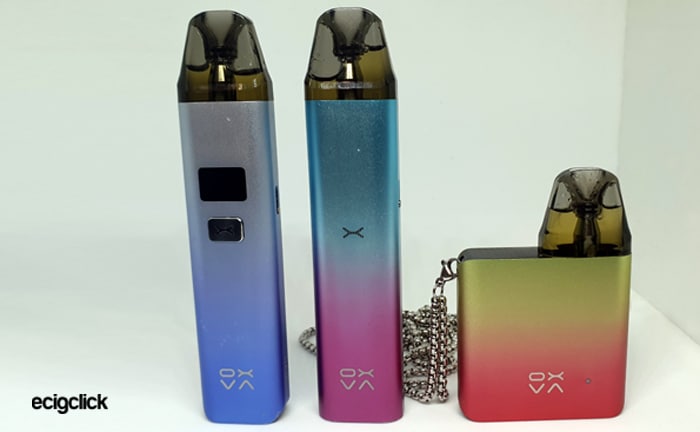
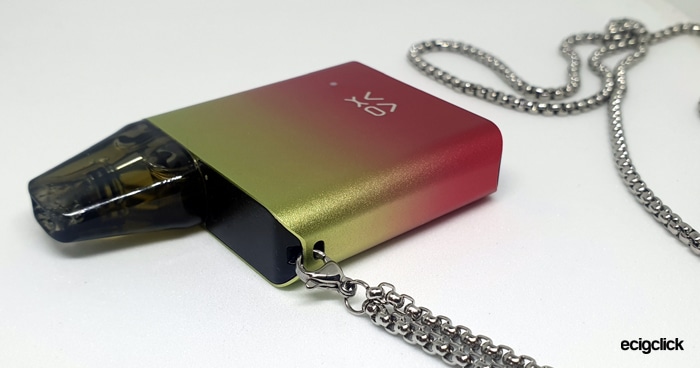
This time instead of the bar shape this has a cute square shape with included Lanyard. Pretty much everything else is the same.
This was provided free of charge for review purposes and I will report back honestly on my findings of the device in my possession! Thank you OXVA!
What Can We Expect From The OXVA Xlim SE Pod Kit…
Like the rest of the Xlim family this is a pod kit with a refillable but ultimately disposable pod.
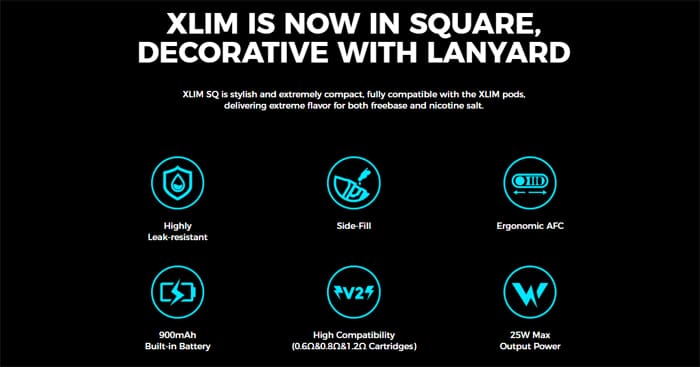
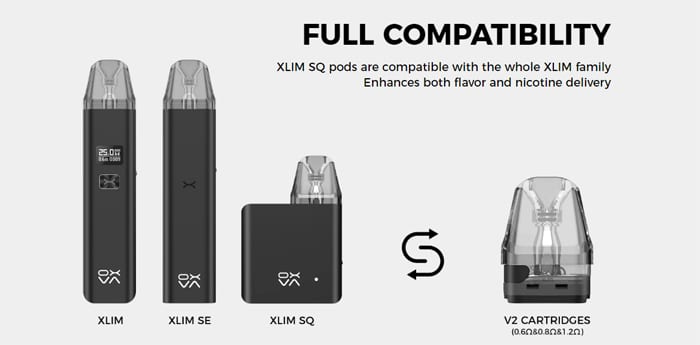
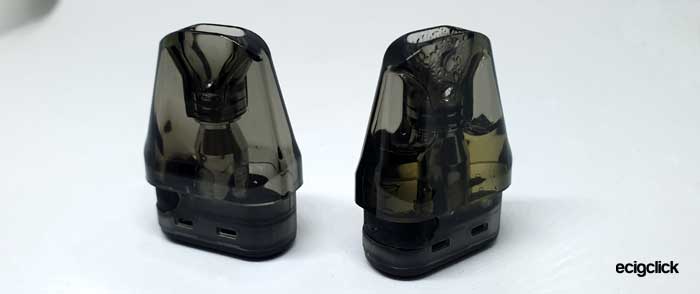
The pods are the same V2 versions as used on the previous Xlim kits so you can swap between.
Inside the pod is the coil and you get the 0.6ohm and 0.8ohm versions in the kit. When the coil has deteriorated in performance you discard the pod section and replace with a new one.
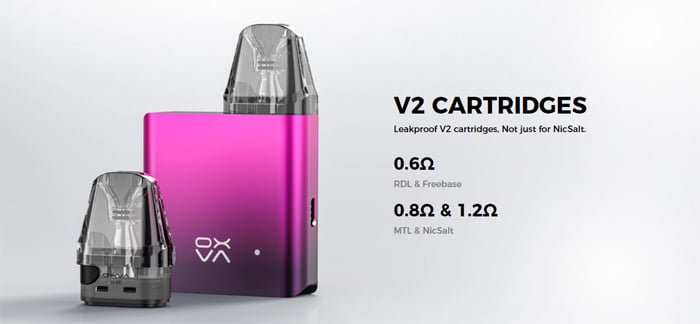
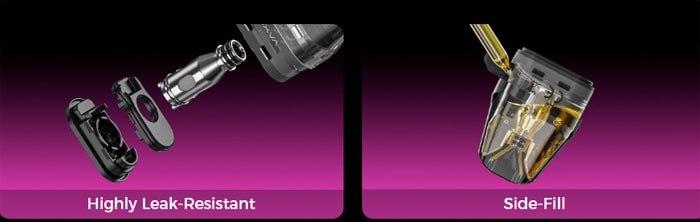
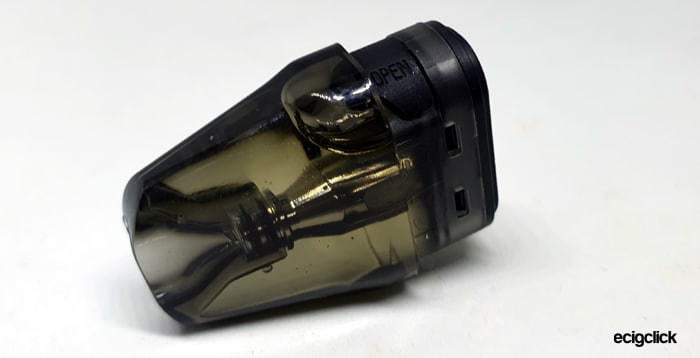
The V2 pods also have a side fill port – thankfully doing away with the awful top fill system of the V1.
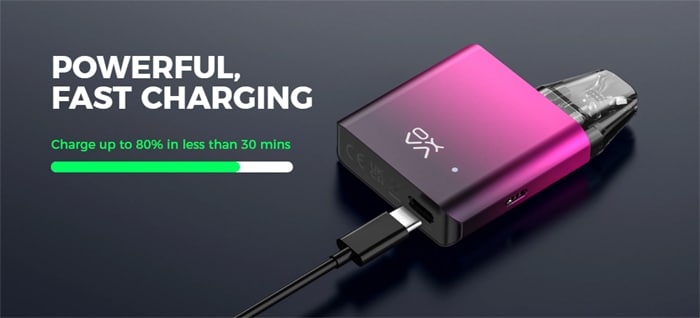
As with the original this has a 900mAh battery with a USB Type C 1A charge rate – apparently you can recharge up to 80% in only 30 minutes.
The output is specified as 5-25W and this selects the output according to the installed pod resistance.
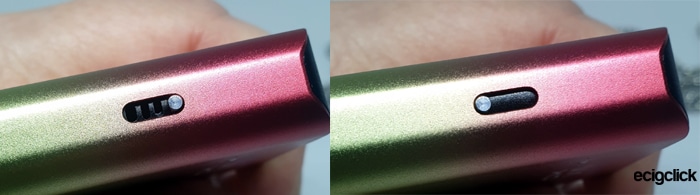
A great feature is the airflow adjustment slider on the side of the square device to set the airflow to your preference.
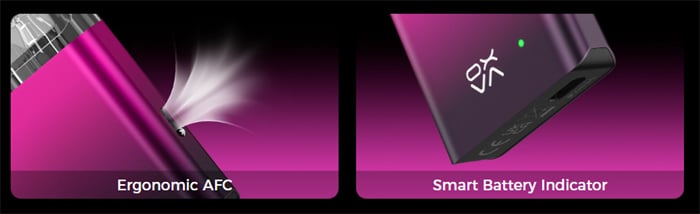
An LED indicator is provided to keep you up to date with device and battery status.
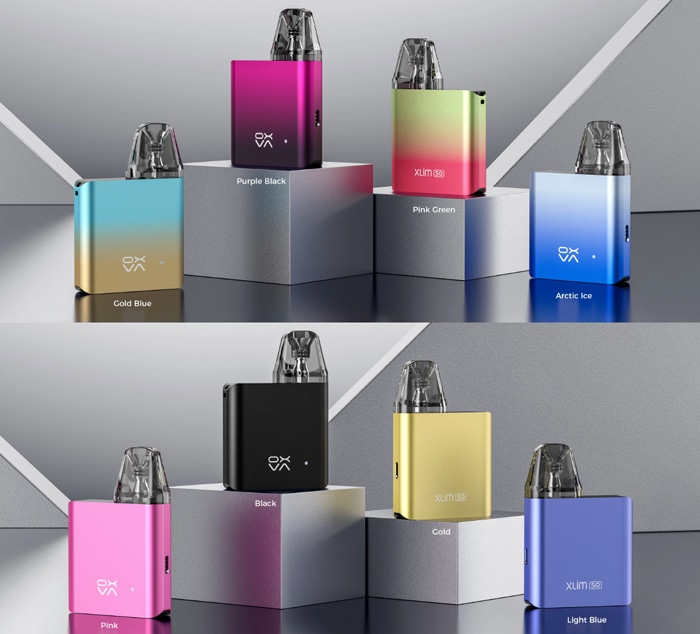
There are 8 colours to choose from: Gold Blue, Purple Black, Pink Green, Arctic Ice, Pink, Black, Gold and Light Blue.
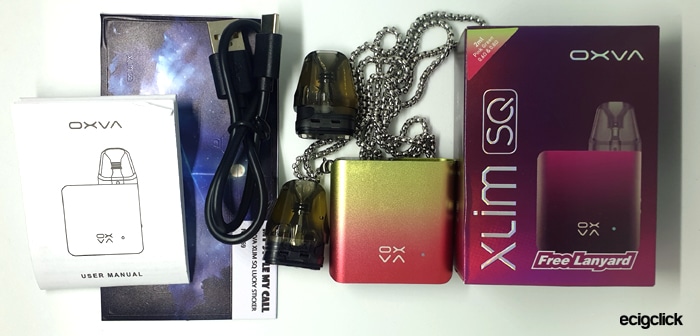
Kit Includes
- OXVA Xlim SQ device
- Xlim V2 pod – 0.6ohm
- Xlim V2 pod – 0.8ohm
- Lanyard
- USB Type C cable
- User manual
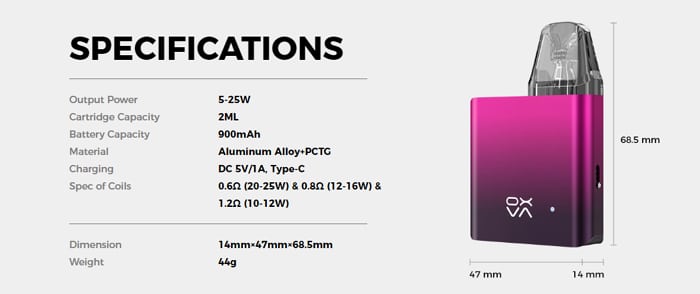
OXVA Xlim SQ Specs
- Size: 14x47x68.5mm
- Output: 5-25W
- Battery: 900mAh (internal)
- Display: LED indicator
- Resistance range: Not specified
- USB Type C port – 1A charge rate – up to 80% charge in less than 30 minutes
- Pods: Refillable, fixed coils
- Compatible with Xlim pods
- Capacity: 2ml
- Adjustable airflow
- Draw activation
- Side fill port
OXVA Xlim SQ Design and Build Quality
I received the Pink Green version.
This comes in a very tiny box, very minimalist, with a plastic tray for the device and the other accessories stuffed in behind the tray. Easy to unpack – not so easy to pack back up!
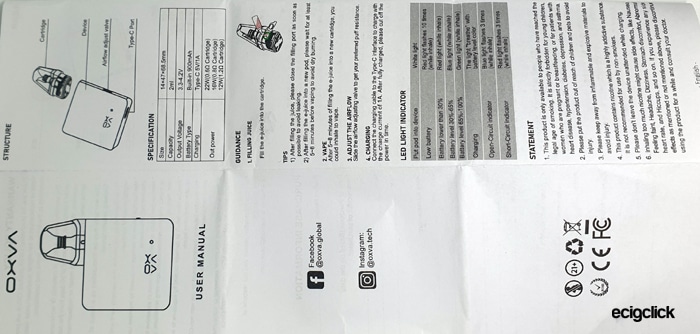
The instructions are pretty basic, but tell you everything you need to know with a great exploded diagram of all the components.
I have to also comment that the lanyard chain is of excellent quality with a clasp to attach to the device. It is a tiny and fiddly clasp but does the job well.
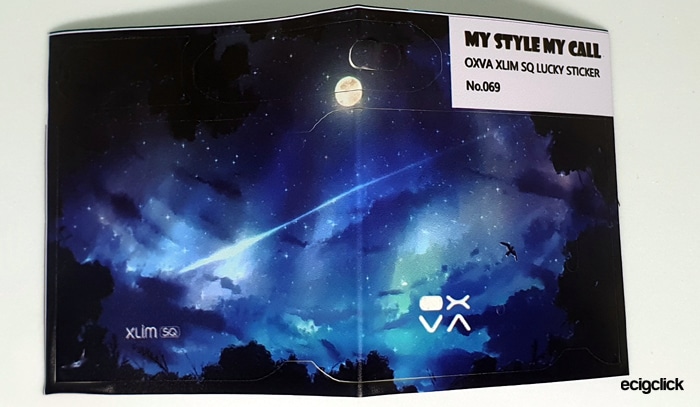
In my kit was a “Lucky Sticker” which seems to be a stick on “Skin” for the device – I personally prefer the original finish but nice to have!
OXVA Xlim SQ Mod
This is pretty much the same as the previous Xlim models but in a square shape. It just feels impossible that a 900mAh battery could be squished into this!
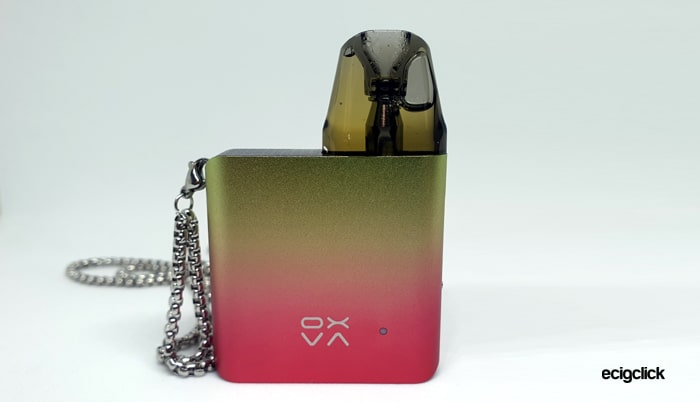
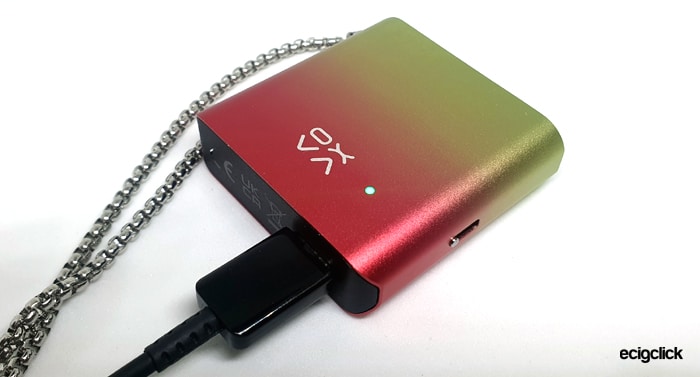
The top and bottom of the mod are made of a hard plastic and the rest of the body is made from Aluminium Alloy with a gradient paint finish. It starts as a Reddy Pink colour at the bottom and fades into a Greeny Yellow metallic paint.
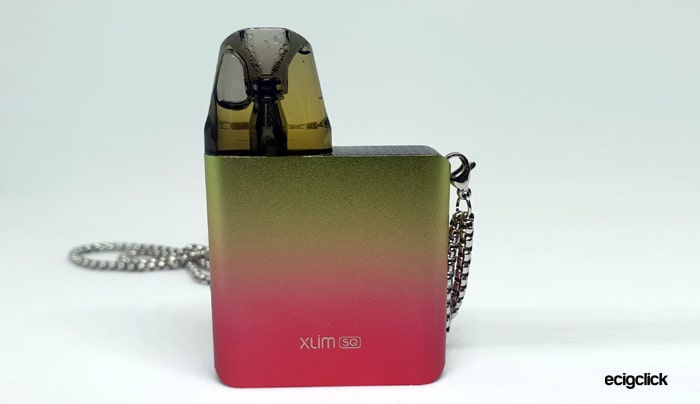
Each of the sides of the mod have text, one side says “Xlim SQ” and the other just OXVA.
On the side with the OXVA logo is the tiny weeny LED. When you think how ace the LED’s on the Xlim and Xlim SE were (in an “X” shape) this seems slightly lazy to just have a boring round LED the size of a pin head.
Looking at the one side you get the familiar airflow slider, which looks exactly the same as the previous models.

The opposite side has the loop for the lanyard to attach to.
On the base is the USB Type C port, required Legal Logos and the battery capacity engraved in.

The top face as mentioned is made from hard Black plastic and has a textured pattern. This runs for half of the top face and the other half is the pod compartment.
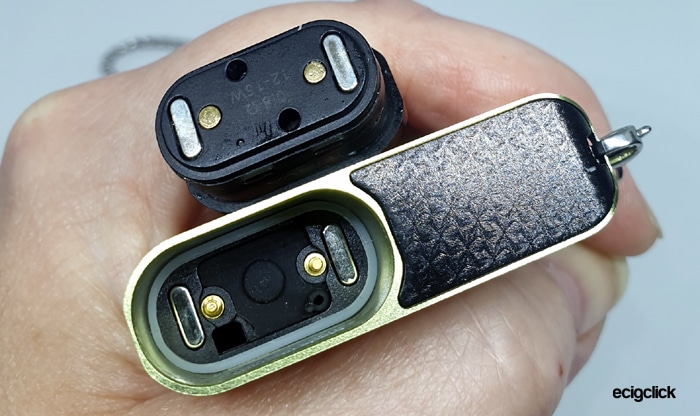
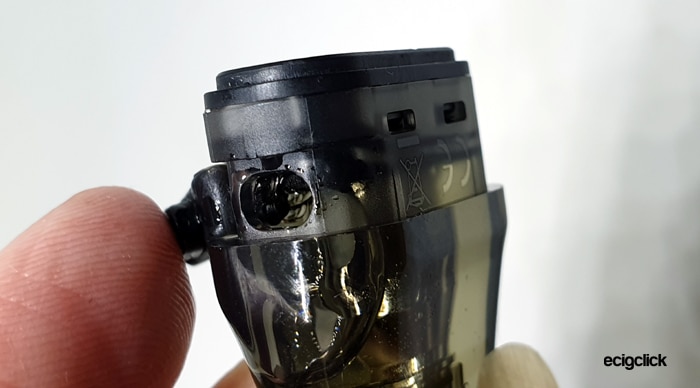
Inside the compartment are 2 spring loaded contacts, 2 magnets and the rubber gasket which covers the airflow sensor. On the other Xlim models if you were having auto-draw or device errors you could remove this gasket and dry out the area beneath which usually cured the issues. You can do the same with this version however there are no spare gaskets supplied as there were in other versions.
All in all a very well made cute little kit!
OXVA Xlim SQ Pod
The pod design is the same as with the V2 Xlim / Xlim SE kit – so I have pretty much copy/pasted my views from that.
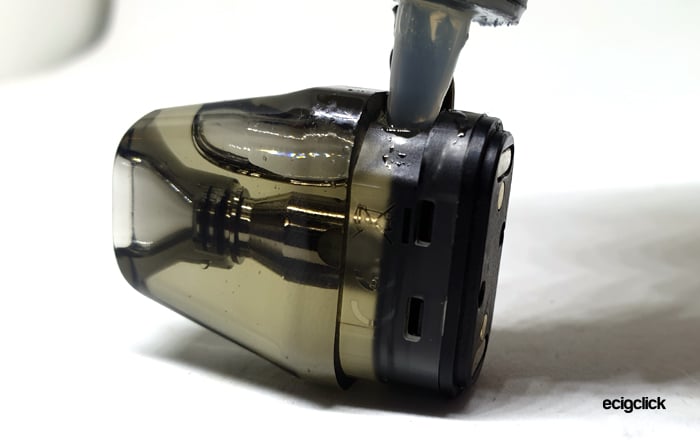
The fill port is on the side of the pod with a silicone cover. I have had a couple of these covers tear – meaning the pod is only fit for the bin. The pods included in this kit didn’t have this issue (yet) but I have had it in the past. But to be fair the pods last so long so no wonder there is some wear and tear!
Yes it is tiny and not easy to open without nails – but it is still a massive improvement on trying to remove the mouthpiece on the V1.
I found the fill port to be OK with 10ml bottles with slim nozzles. Anything bigger is just going to result in you pouring e-liquid everywhere apart from the place you actually want it to go!
So the filling port is not great – I have had to decant my e-liquid into small nozzle 10ml bottles as none of the larger spouts will fit into the port.
Also you can get airlocks where you are just pushing air into the pod and pushing liquid out which can be annoying.
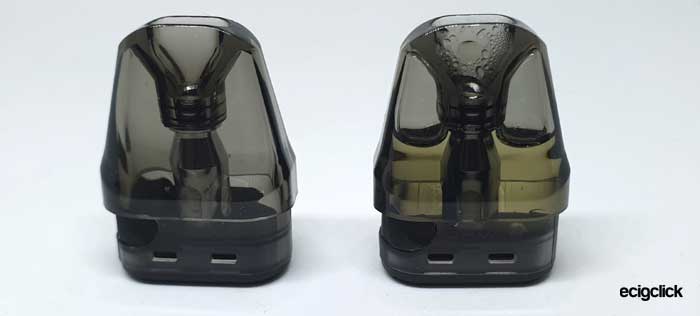
The clear mouthpiece makes viewing e-liquid much easier as you can tip the pod upside down and see if there is liquid in the mouthpiece area without having to remove the pod.
Speaking from experience as a user of these pods in my Xlim V2 – there can be a slight leak from the fill port as it is often difficult to push the cover fully closed. This can allow small leaks from the port which drip down the pod.
But the pod life of over 4000 puffs for every 0.8ohm pod I have used makes up for the filling niggles.
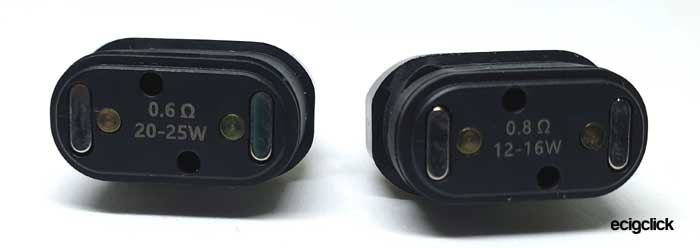
On the pod base is the resistance and recommended power level, plus magnets, contacts and airflow holes. You can install pod either way around and it works fine.
OXVA Xlim SQ Pod Kit Quick Start Guide
The device arrives with the 0.6ohm pod installed. Do not inhale on this until you have filled it with e-liquid and left to stand for 10 minutes. If you do you will get a horrific dry hit and ruin the pod – which will really pee you off.
An isolator sticker is attached to the base of the pod to prevent firing before filling so make sure to remove this before use.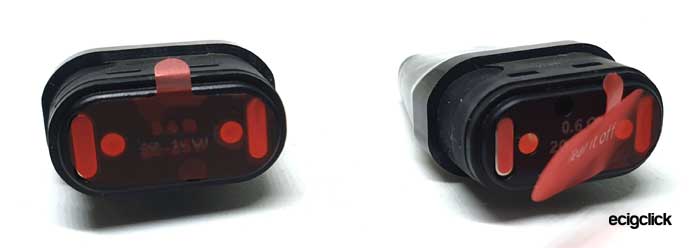
So charge, fill up and away you go – I tell you how to do all this below!
OXVA Xlim Basic Operation
- Power On/Off = you cannot switch this on or off.
- Vaping = inhale on the mouthpiece to trigger the auto fire.
- Battery indicator = illuminates when vaping – Green light = 65-100% charge left, Blue light = 30-65%, Red light = less than 30% and when fully discharged will flash Red and will not fire.
- Battery indicator when charging = the battery level colours pulse slowly from Red to Blue and then Green. When fully charged the LED turns off.
- Adjust airflow = move the slide switch on the side of the mod to increase / decrease the incoming airflow to your preference.

Left = Fully open, Right = Fully closed
OXVA Xlim SQ Protections
- Low battery – the LED flashes Red 10 times and the device will cut out.
- Short circuit / too low resistance – Red LED flashes 3 times.
- No Atomiser / open circuit – Blue LED flashes 3 times.
How To Charge The Battery
The charging rate is specified as 1A.
- Using the included USB type C cable connect the small end into the USB port on the mod.

- Connect the large end of the cable into a suitable USB outlet.
- The LED will cycle through the colours and turn off completely when fully charged.
The charging time for me using a 1A mains plug was around 1 hour each time.
How To Fill the OXVA Xlim SE Pod
- Remove the pod from the mod.
- Lift up the cover of the fill port and add e-liquid through the port.

- Watch the e-liquid level through the clear side of the pod.

- Replace the fill port cover firmly.
- If this is the first fill allow the pod to stand for 10-15 mins to allow the e-liquid to soak into the coil. This is called Priming and is a very important step. If not fully primed you could burn the coil out and your throat lining in the process!

How Does the OXVA Xlim SE Pod Kit Perform?
I mainly used my own e-liquid mix which is 50/50 PG/VG made from IVG Bubblegum Concentrate at 20% ratio. This is quite high a flavour ratio as I prefer plenty of flavour, but sadly this means it can be a coil killer sometimes. But the OXVA Xlim pods have no issues at all with it.
I add nic salt to approx 6mg strength.
If any of these terms are over your head – have a read of our handy guides below!
- MTL V DTL – A Guide To Vape Styles
- VG and PG in E-liquid – all you need to know
- Beginners guide to E-liquid
- Nic Salt E-liquid
It is worth noting I have used both these pods before in the other Xlim kits. I use the 0.8ohm V2 pods daily – so I know how they perform. I have had over 4000 puffs from these pods so the coil life is pretty epic.
OXVA Xlim V2 0.6ohm Pod – KA1
This pod is capable of using 50/50 VG/PG e-liquid up to 70/30 VG/PG e-liquid so I tried both!
50/50 E-liquid…
I used my own 50/50 e-liquid mix as mentioned above.
This was slightly harsh on the throat compared to the 0.8ohm pod as this is obviously running at a higher output – I assume 22W (like with the other Xlim devices).
The throat hit is very strong and I ended up coughing after a few hours vaping with this! I did manage 6 refills and the flavour is still excellent.
I do prefer the 0.8ohm pod but this is still usable – if you like the throat hit choose this pod!
70/30 E-Liquid
I used the IVG Bubblegum Select 50ml Short Fill with 6mg nic salt added for this test.
I did only run 1 pod full as I usually use a thinner e-liquid.
However the flavour was great, obviously not as strong as you would get in a lower resistance pod but it still performed well.
The vapour was quite warm but there was plenty of flavour!
I have used this setup before in previous Xlim kits and this pod is perfectly happy with higher VG e-liquid. I probably wouldn’t risk 80% VG!
This pod is so versatile allowing use of different e-liquid ratios!
OXVA Xlim V2 0.8ohm Pod – KA1
I love this pod. I have been using these for months in both my Xlim kits and I have not found another pod which gives the epic flavour this pod does.
It is beyond compare in my eyes.
The flavour is pure and strong, the throat hit is just right and I have not found better performance from anything!
Alternating between this and my other 2 Xlims the vape is exactly the same. The output, flavour, heat and throat hit are no different between all 3 Xlim products. This is super consistent manufacturing from OXVA.
I have refilled this over 10 times so far (20ml) and the flavour is still spot on.
I think you can tell by my cringing fangirling I highly recommend this pod.
There is no other option than a full 10/10 – honestly it is that good!
OXVA Xlim SQ Airflow
I found this the same as the other Xlims – so full marks to OXVA for consistency. I am sat here vaping with my Xlim SE and the SQ alternately and the experience is exactly the same with the airflow fully open.
0.8ohm Pod Airflow
For me being an MTL vaper I still used the airflow on the fully open setting which is pretty restricted.
You can go ever tighter with the airflow to the point where you can still get a vape but it is virtually closed. This is one of the tightest airflows I have tried when fully closed.
I personally believe this is not suited to Restricted Direct To Lung vapers, they will find the airflow way too tight even on the most open setting.
0.6ohm Pod Airflow
This is slightly more open than the 0.8ohm pod but still pretty restrictive. If you like a restricted DTL vape this might do you – but when fully open it is still quite tight.
Mod Performance
The auto draw is accurate and reliable. It fires up instantly and operates perfectly whether the airflow is fully open or closed.
Output wise this is pretty stable until the last 10 vapes or so before the battery conks out. The vape is very weak at this point.
Battery Life
This is always very variable according to your own habits and coil resistance.
I found with the 0.8ohm pod I got 4.5-5.5 hours.
With the 0.6ohm pod I got 4.5 hours.
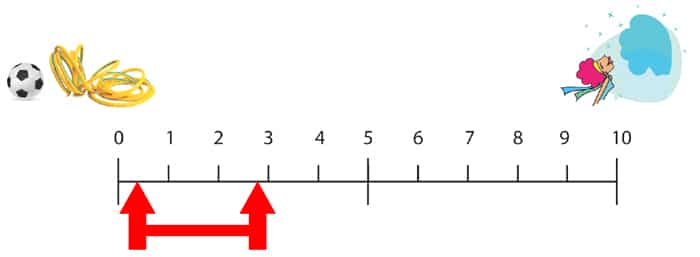
I will have a moan about the charging time and the claims of 80% charge in 30 mins as seen on the graphic below.
I found it took over 30 mins for the Green LED to show and that only depicts a 65% charge level. In total every charge took around 1 hour give or take a few mins.
Pros
- The 0.8ohm V2 gives the best flavour I have ever had!
- Also the 0.8ohm pod has an epic coil life of over 4000 puffs.
- 0.6ohm pods compatible with 50/50 up to 70/30 VG/PG e-liquids.
- The pod quality is excellent, I have bought many packets of these over the last year and not one dodgy pod!
- Tiny and lightweight, easy to wear using the included good quality lanyard chain.
- Airflow adjustment is a great thing to have.
- Super simple to use, device adjusts the output to match the pod.
- Clear view of e-liquid level.
Cons
- Instead of the funky “X” shaped LED’s on previous versions – this time you get a basic circular pin head sized LED. Which is a shame!
- Not great for those who prefer a Restricted DTL vape – the airflow is tight even when fully open. It is slightly less restricted with the 0.6ohm pod but still quite tight.
- It is a shame there is no fire button as I do like to have that as a back up in case the auto draw system fails.
- Have had a couple of Xlim pods (not with this kit) where the fill port cover tears off and renders the pod useless. But the pods last for so long so it is not a deal breaker.
- Charging takes around 1 hour and the claim of 80% charge in 30 mins did not appear to be accurate in my experience.
Final Review Verdict
I recommend the V2 0.8ohm pod above any other MTL device I have ever tried – and I get to try (review) a lot. There is nothing at all I have found with a better MTL flavour – honestly. It is that good!
The 0.6ohm pod is more versatile and was happy with 50/50 and 70/30 e-liquid ratios and gives excellent flavour. It was slightly harsh with the thinner e-liquid as it has more PG in it.
Also when it comes to maintenance costs, the fact you can get over 4000 puffs from one pod (I know as I use them on my Xlim which has a puff counter) this is super cheap to run. I buy a pack of 3 pods for around £10 and I have two of the Xlim / SE devices on the go every day and these last ages.
I know of no better MTL starter kit on the market right now than any of the Xlim range. However I will add this only applies to those using the V2 pod (the V1 was pants).
If I wanted to have a moan, I feel the LED lets the device down. It is tiny and looks cheap. The “X” shaped LED’s on the Xlim and Xlim SE were really funky and made it look more technical. The SQ indicator looks boring and dull.
Also instead of a 900mAh battery (same as the rest of the Xlims) I wish this had a bigger capacity as I have to charge a lot. Hence why I use multiple Xlims every day. The charging time did not live up to expectations.
But as a kit for a starter or any kind of MTL lover I recommend any of the Xlim range – and the OXVA Xlim SQ is a proud member of this excellent performing range. I will however say although the OXVA website says the 0.6ohm pod is suitable for RDTL vaping – to me the airflow is still quite tight but it is more open than the 0.8ohm.
Have you tried the OXVA Xlim SQ? Let me know how you got on in the comments below!


